
|
|
|
Your donations help keep this valuable resource free and growing. Thank you.
|
Smart Charger Battery Repair Technique |
Post Reply 
|
| Author | |
304-dude 
AMC Addicted 

Joined: Sep/29/2008 Location: Central Illinoi Status: Offline Points: 9082 |
 Post Options Post Options
") Thanks(0) Thanks(0)
 Quote Reply Quote Reply
 Topic: Smart Charger Battery Repair Technique Topic: Smart Charger Battery Repair TechniquePosted: Mar/30/2022 at 12:21pm |
|
7 stage smart charger usage, in repairing batteries
Basic function of 7 stage smart charger operation Stage 1 & stage 2 are timed to 5 minutes and 10 minutes. Stage 3 depends on state of charge and battery capacity with charging current. A charge of .12C with 50% depletion can take 9 hours while in stage 3. Stage 4 can take 1 hour or less depending on battery capacity. Stage 5 is timed to 10 minutes Stage 6 can last 8 hours depending on charger and sulfide build up. Stage 7 is maintenance charge with pulsed refresh, partially timed, I think 1/2 hour increments between pulsed segments. Most all smart chargers will be fully automatic when doing a maintenance charge. As long as the battery has been actively in use. As long as that is the case, no need to worry about sulfide restricting its charging ability. Though it is optional, most portable smart chargers do not have full protection from AC line transients and power disruptions, which can damage the unit when using the device as a long term maintenance charger. I suggest a tripp lite or equivalent, if not adding a surge protection kit, to be added in-line at the power source with ground protection. 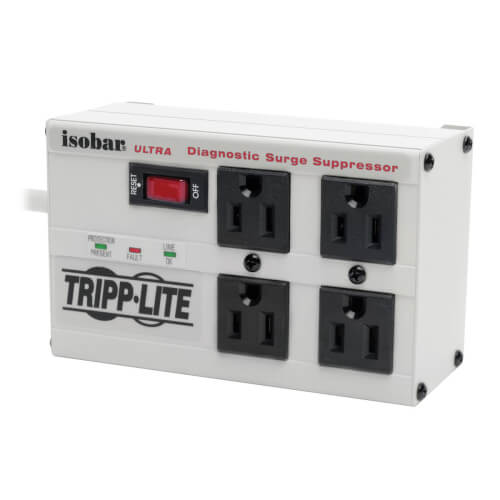 For problematic sulfate repair and battery recovery, the first step is to try to give a good top charge, to give a start point for a one time repair mode charge. Some smart chargers limit repair mode to 8 hours, some are limited to 16 hours. Either way, once completed, a cool down is required. The more sulfide the warmer the battery will be when charging later in its stage. Once a repair mode has been done, you can smart charge, while monitoring. Usually heat is noticeable around 7A mark and lower, once battery is more and more recovered. So a good hour or two, initially, before you need to keep note. Checking every 30 minutes should be sufficient, when smart charging is being done for the first time. It will also prepare you for future charging, as you become familiar with battery heat up in the process. Once you notice the battery heat up, like a doubled up paper cup of fresh hot coffee, or notice the charge voltage do a random drop of 0.1v on the meter, after current has stepped down, stop the charging process, and allow to cool down. Take note of the current. As it will be your break through barrier. If recharging cycles seems to stagnate at the noted current, more repair mode needs to be done, an hour later, for cool down. Example... 5.7A seems slow at stepping down and voltage drops to 14.1V periodically. After a round of repair and recharge, the current lowers further a wee bit. After another round, current may lower further to 5.0A. Depending on sulfide, it may lower to 4.3A. Each time should lower the barrier current, keeping the smart charger from completing. Note... If current ramps up at any time after stage 2, instead of jumping to maximum, or when ramping down, repair mode needs to be ran. Never run a repair mode back to back or without a recharge attempt. If the repair / recharge cycle seems ineffective, try a discharge / recharge cycle (shown in the step further down) to help with sulfide. Alternating with discharge cycle or repair mode cycle at times, is at your discretion. Once cooled, analyze to check the battery's state for reference. Do a discharge with brights and attempt cranking engine 5 times while battery is fresh, without allowing to start. The high current pulses from cranking will work on helping with desulfation. Discharge to 12.1V maximum or with an analyzer no further than 50% charged. Once discharged, perform a smart charge, taking note of when you need to disconnect, if becoming hot or voltage drops 0.1V. Take note of the current and stage. Comparing the previous readings, to notice improvement. Note... Once no other improvements are being seen with the analyzer, from the discharge / recharge cycles, stop doing them, and reintroduce repair mode in its place, to continue breaking down any sulfide for smart charging to continue. Eventually after each smart charge cycle, the battery will become less problematic with charging, in allowing stages to complete without having to stop, due to heat. Analysis with the analyzer will give you an idea of how far you need to continue. SOC and CCA should increase as you progress. Take note not all batteries will recover fully. It is easier to fully recover with 98% SOH, than with 80% SOH. There are variants to the repair options, but from my experiences with smart charging, the simplest method will work, but is very slow, due to you can only do so much in a days time, with charging being around 10 hours, give or take, and the discharge routine of 1.5 to 2 hours. You can manage your time, as you familiarize to the charger and battery state. Note, on stage 3, it will act like stage 4, in ramping down current, until current drops below 5.1A. Even though the charge voltage shown on the display will be constant, once maximum current slowly ramps down, the voltage at the battery will ever so slowly increase from 14.2V to 14.33V as current drops to 5.1A. Then the indication of stage 4 will show, while current continues to drop to 0.8A. |
|
|
71 Javelin SST body
390 69 crank, 70 block & heads NASCAR SB2 rods & pistons 78 Jeep TH400 w/ 2.76 Low 50/50 Ford-AMC Suspension 79 F150 rear & 8.8 axles Ford Racing 3.25 gears & 9" /w Detroit locker |
|
 |
|
|
Post Reply
|
|
 Tweet
Tweet
|
| Forum Jump | Forum Permissions You cannot post new topics in this forum You cannot reply to topics in this forum You cannot delete your posts in this forum You cannot edit your posts in this forum You cannot create polls in this forum You cannot vote in polls in this forum |


 Click for TheAMCForum Rules
 Topic Options