
|
|
|
Your donations help keep this valuable resource free and growing. Thank you.
|
'65 Rambler American 220 Barn Find Rescue |
Post Reply 
|
Page <12 |
| Author | |
farna 
Supporter of TheAMCForum 
Moderator Lost Dealership Project Joined: Jul/08/2007 Location: South Carolina Status: Offline Points: 21273 |
 Post Options Post Options
") Thanks(0) Thanks(0)
 Quote Reply Quote Reply
 Posted: Jan/22/2026 at 8:24am Posted: Jan/22/2026 at 8:24am |
|
The front drums were hard to remove because the studs were still in! The studs should be removed before trying to take the drum off the hub. You should have pressed the studs out one by one first. Oh well, they are off now! The seat covers may have been put on to protect the originals. They sure did a good job of that!
|
|
|
Frank Swygert
|
|
 |
|
|
1320
AMC Fan 

Joined: Mar/10/2022 Location: Finland Status: Offline Points: 18 |
Post Options
Thanks(0)
Quote Reply
Posted: Jan/26/2026 at 5:03pm |
|
Thanks for the tip on removing the studs first before separating the drum from the wheel hub! I know I'm not the only one around here who has struggled with separating those parts from each other. On previous post I said the other front drum was broken and needed replacing. Luckily, a friend of mine had a better one in stock. It will need a bit of machining, but that's no problem. If I had known to remove the wheel studs first, separating this drum from the wheel hub would have been a lot easier, but I got it off anyway. 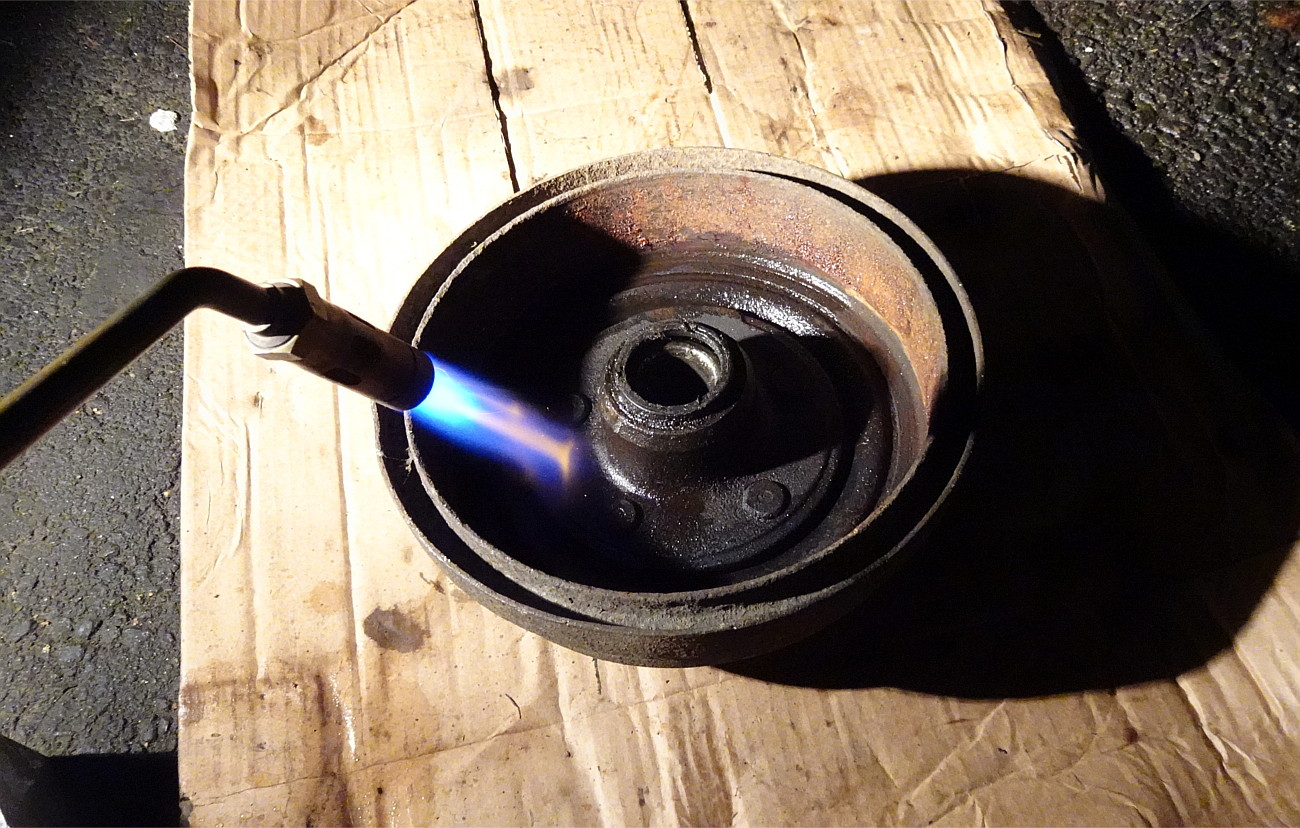 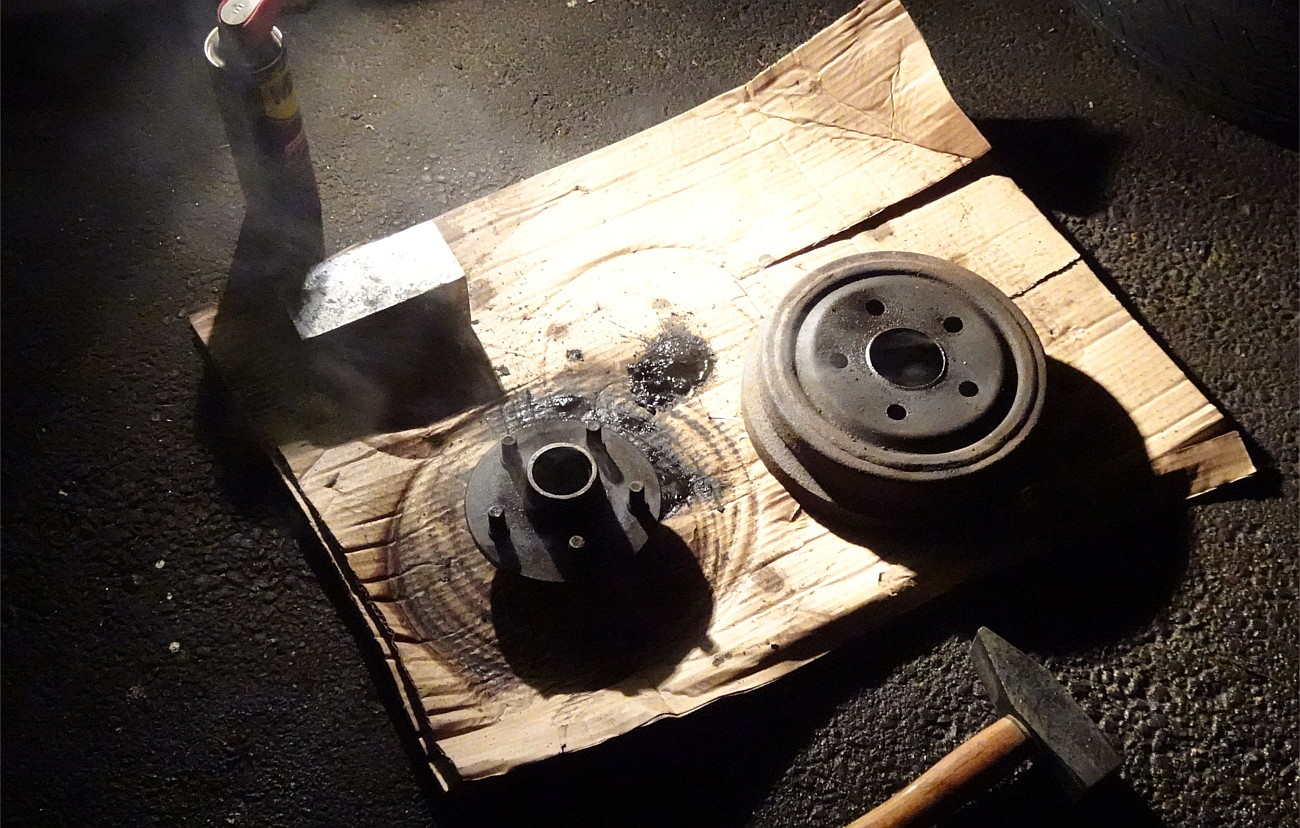 Then it was time to check out what was the condition of the floor. This is how it looked after removing the plastic carpet. 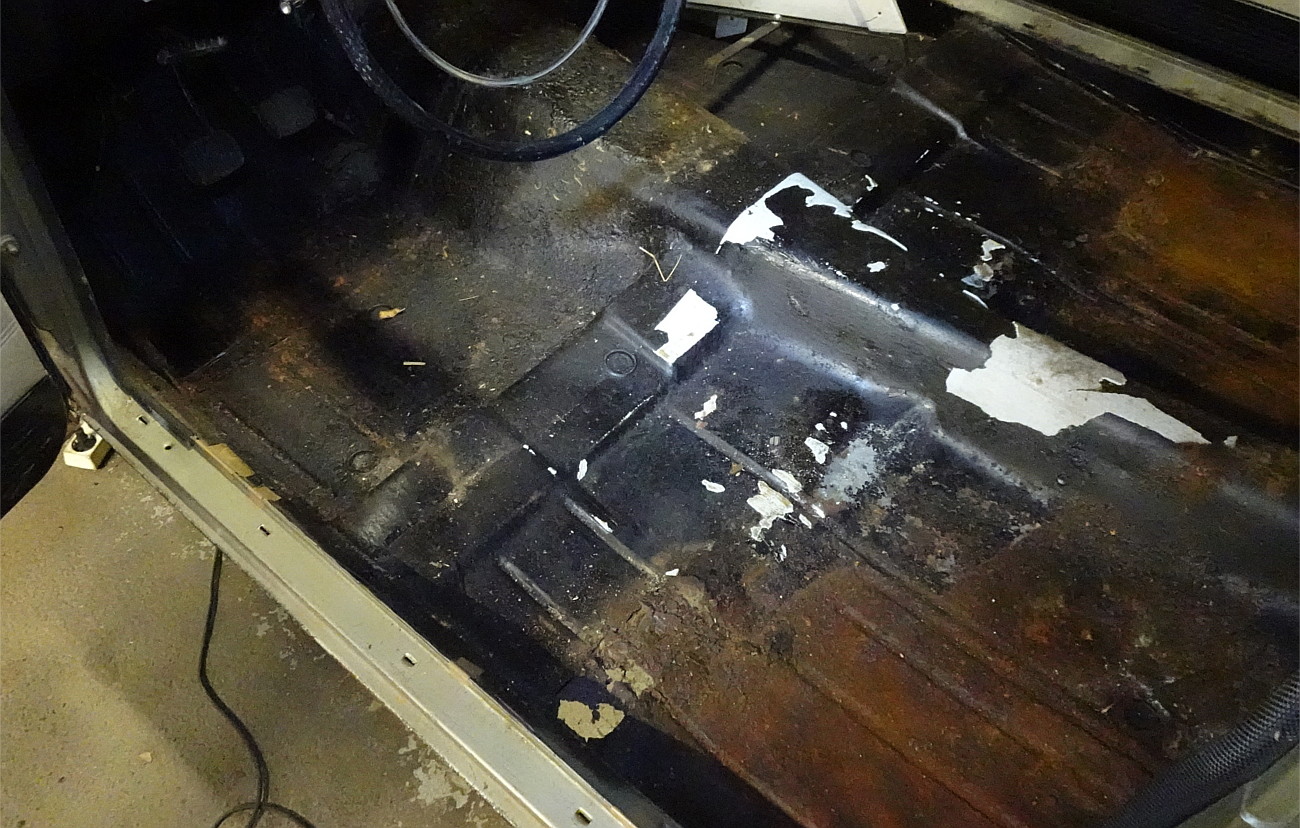 Someone had painted floors with some thick black paint, but it looked like the footwells had been wet so the paint peeled off quite easily. Then I started hitting the floor with a big screwdriver to see if it'll go through. Some rust spots were found, but overall the driver's side was in much better condition than I originally thought. 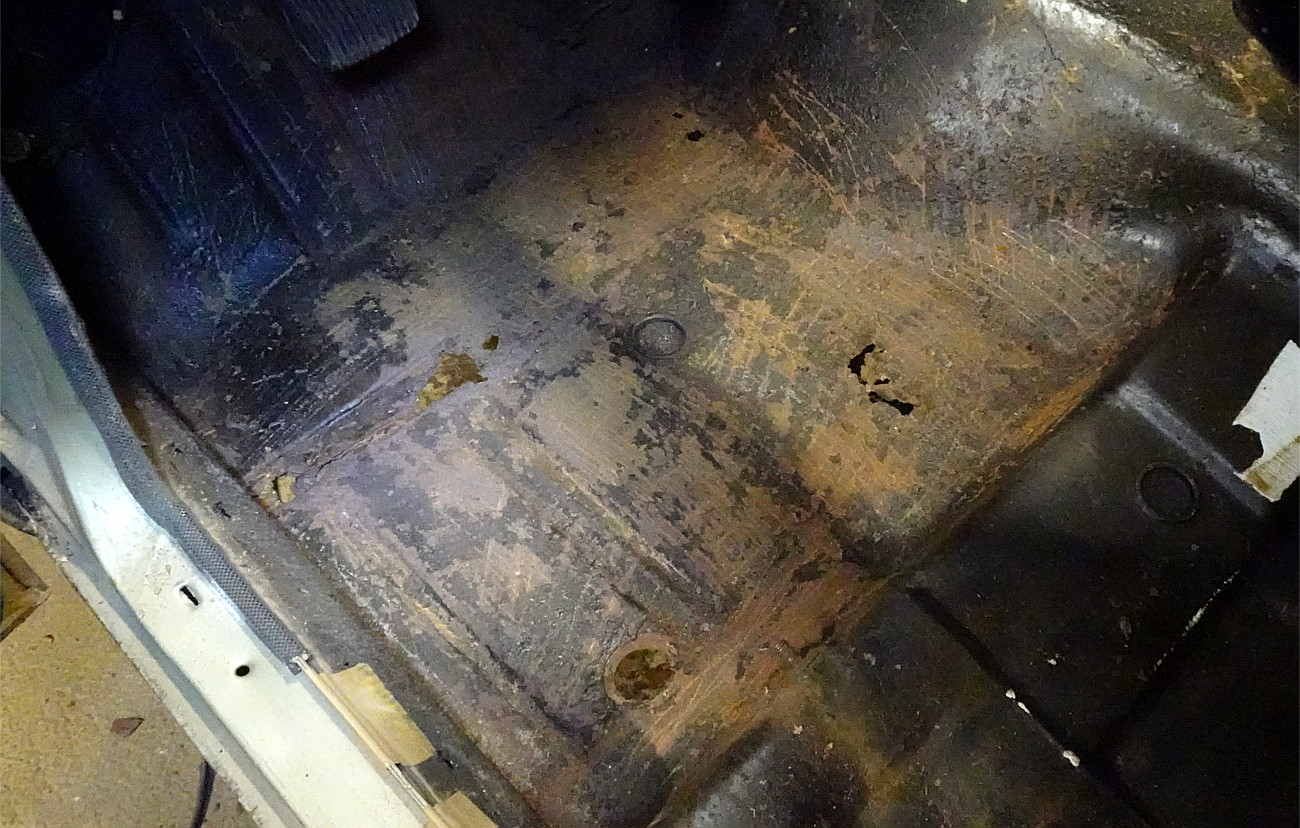 Rear footwell on driver's side was also surprisingly good with only one minor rust spot. But the floor was in pretty bad shape from where the rear mount of front seat is attached. The floor itself was completely missing and the reinforcement brace under it was also in very bad condition. 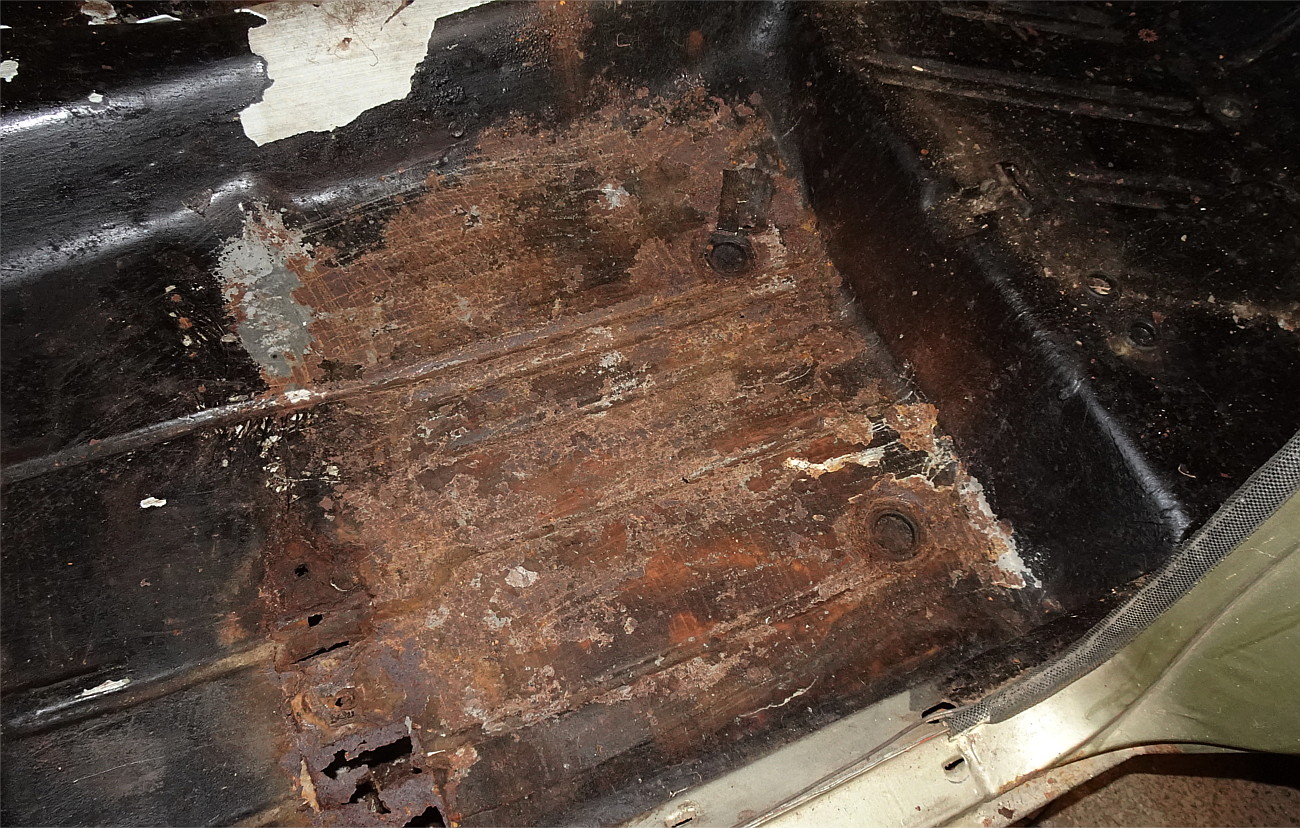 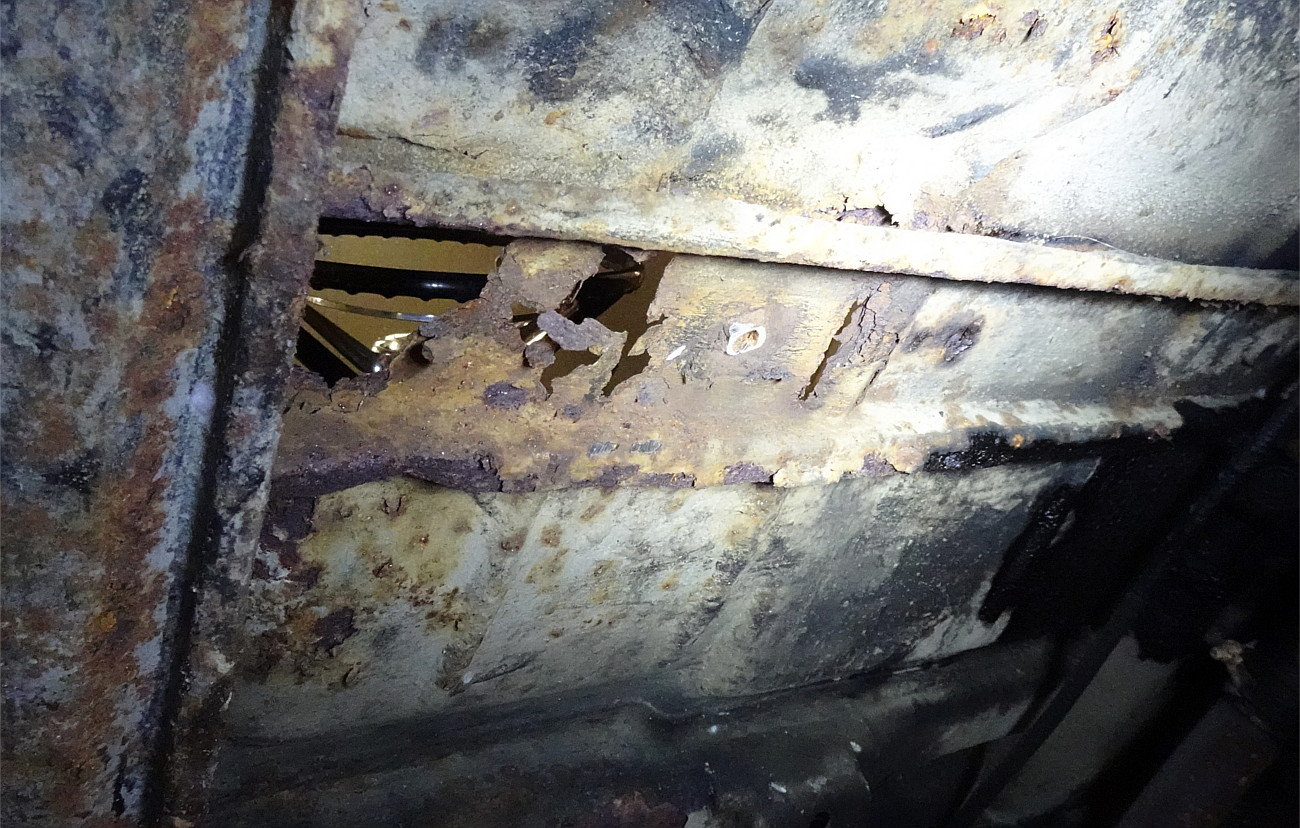 So next I decided to fabricate a new reinforcement brace under the floor. I fabricated one from approximately .100 inch thick steel plate. Should be strong enough! 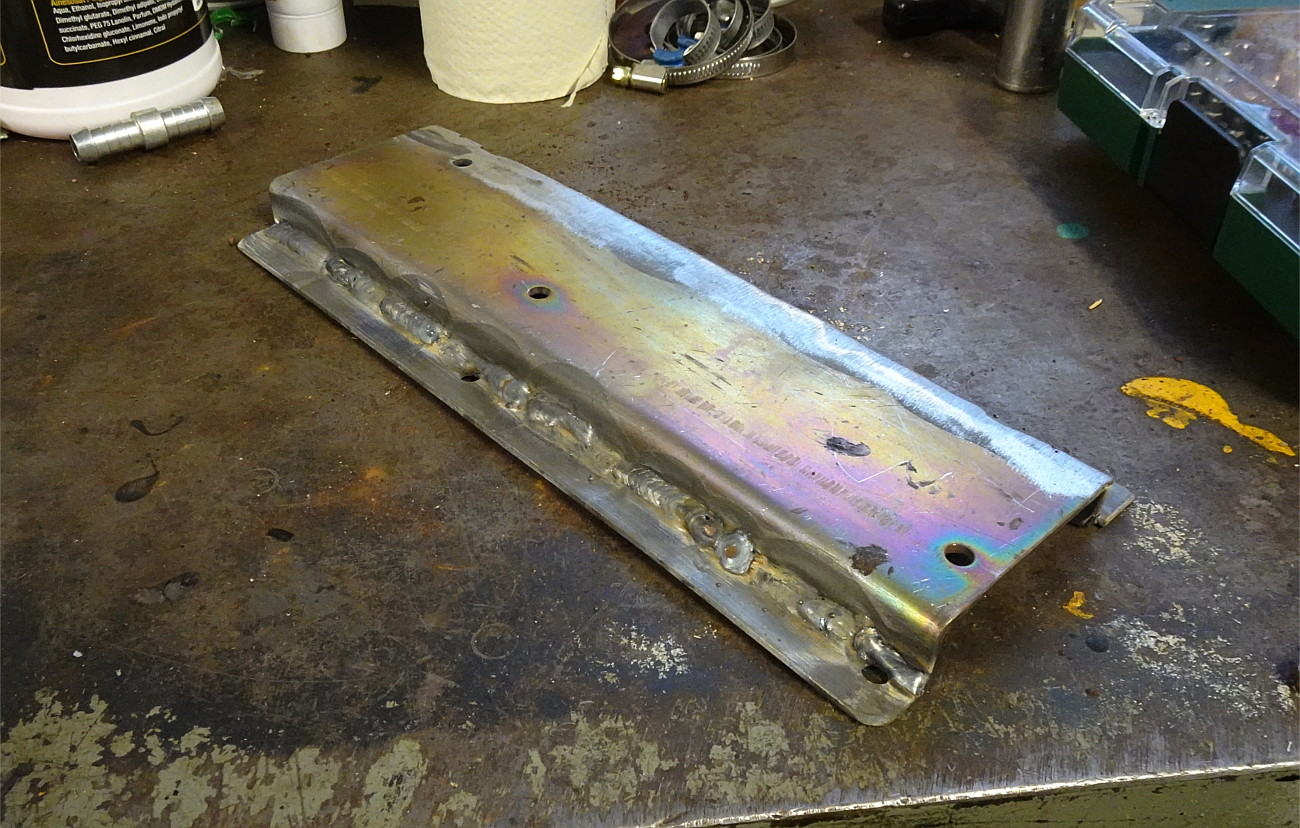 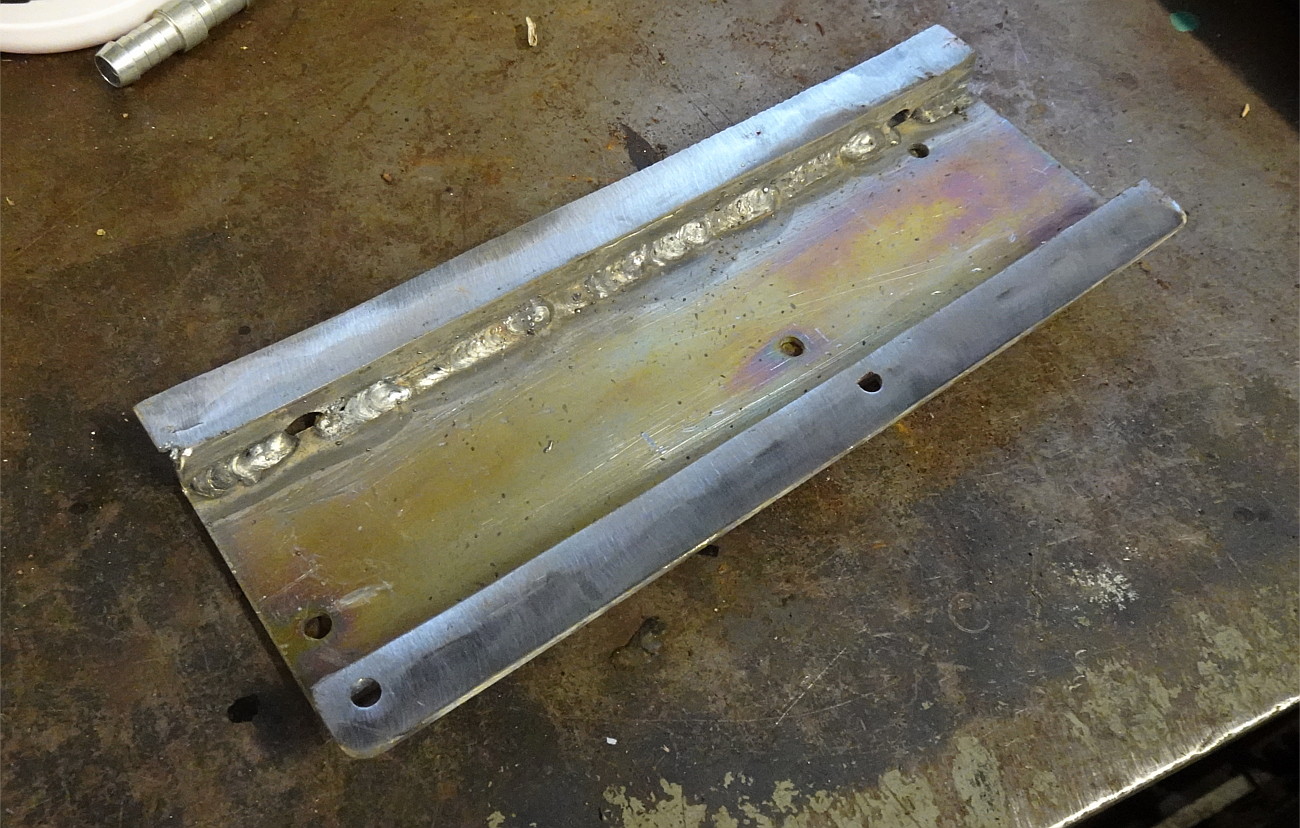 Then I had to cut a little more floor out of the way to be able to fit and weld the brace properly on place. Here I was really careful to get it in exactly right position to avoid problems later. After welding the brace on the car I was happy how it turned out, it's a very rigid construction now. 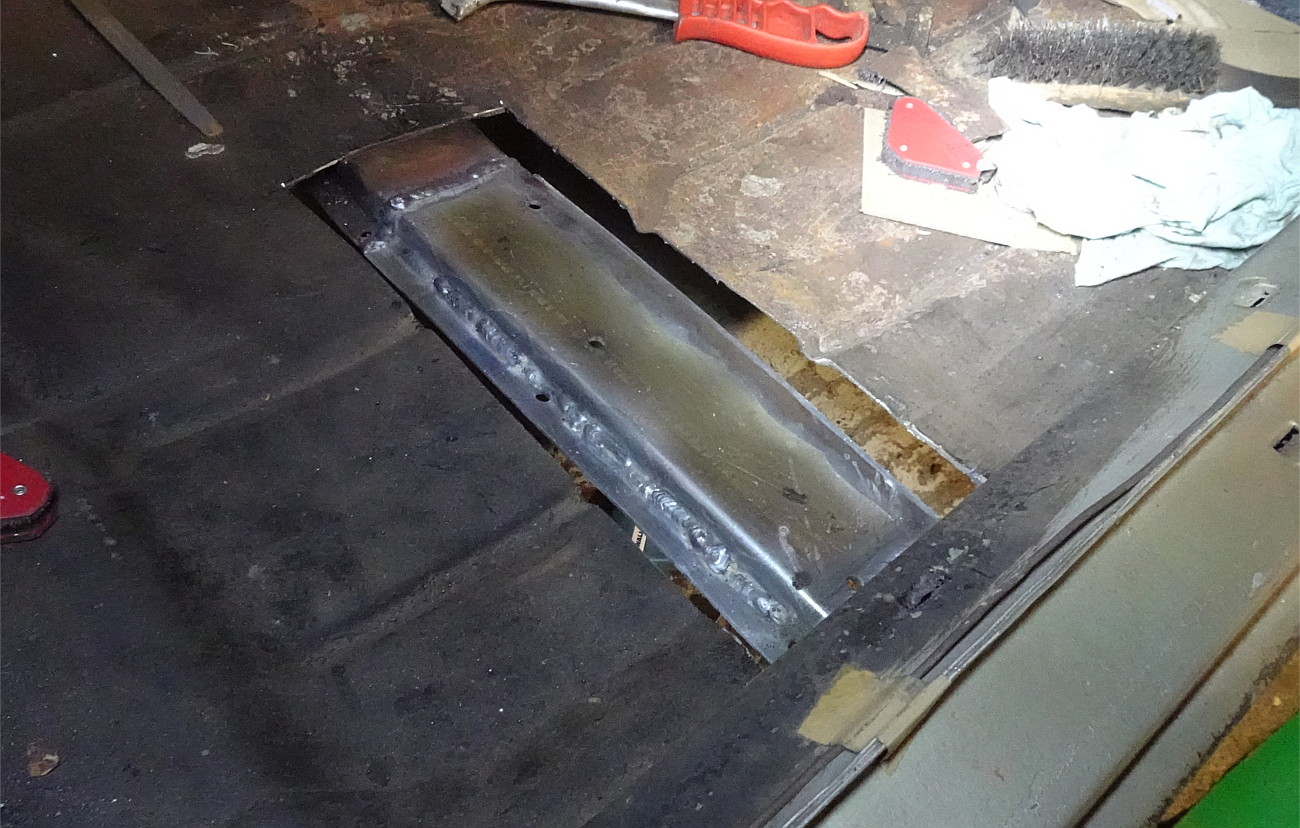  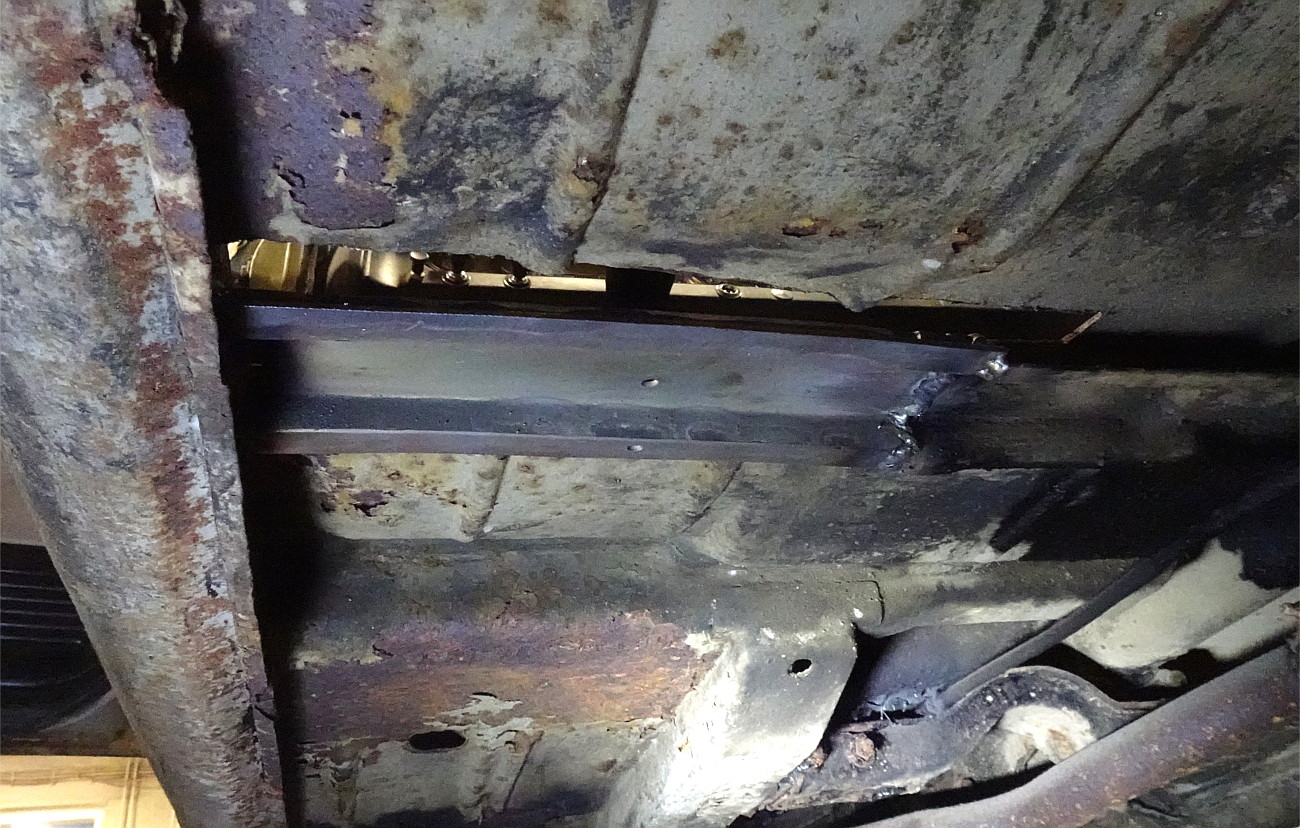 After the brace had been welded on place, it was time to fabricate a patch panel for the floor. A couple of more patches were also done on driver's footwell and one on driver's side rear footwell, but they all were really easy to do. 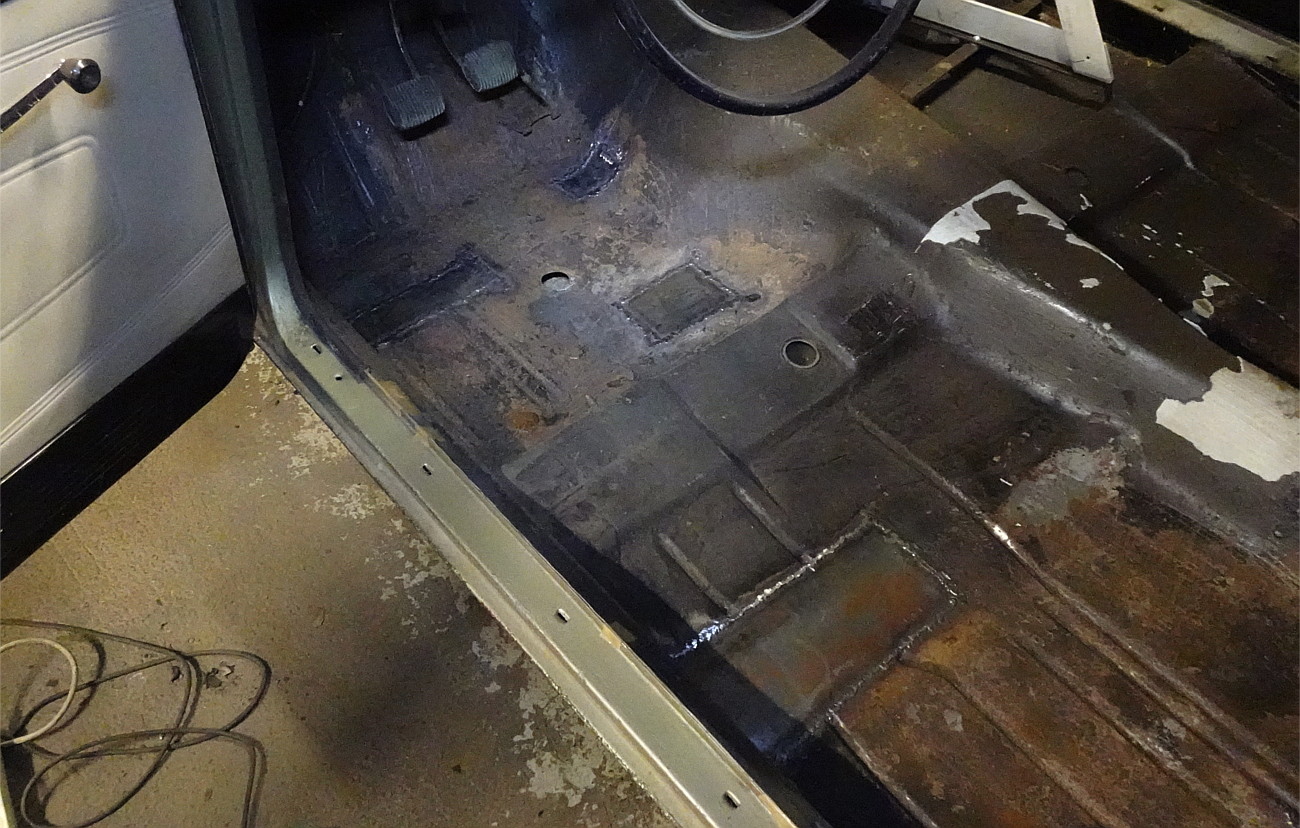 Mounting hole for front seat will need to be re-drilled, but first I will need to mock up the seat.  And this is where I am at right now. Next step will be to check out condition of the co-driver's side floor and repair that if necessary.
|
|
|
|
|
Post Reply
|
Page <12 |
 Tweet
Tweet
|
| Forum Jump | Forum Permissions You cannot post new topics in this forum You cannot reply to topics in this forum You cannot delete your posts in this forum You cannot edit your posts in this forum You cannot create polls in this forum You cannot vote in polls in this forum |


 Click for TheAMCForum Rules
 Topic Options