
|
|
|
Your donations help keep this valuable resource free and growing. Thank you.
|
Restoration of Hanna (Charity AMX) |
Post Reply 
|
Page 123 24> |
| Author | |
tbenvie 
AMC Addicted 
Joined: Jul/02/2007 Location: United States Status: Offline Points: 1014 |
 Post Options Post Options
") Thanks(0) Thanks(0)
 Quote Reply Quote Reply
 Topic: Restoration of Hanna (Charity AMX) Topic: Restoration of Hanna (Charity AMX)Posted: Sep/06/2008 at 10:56pm |
|
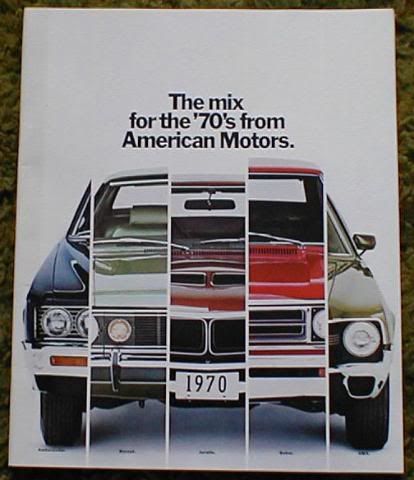
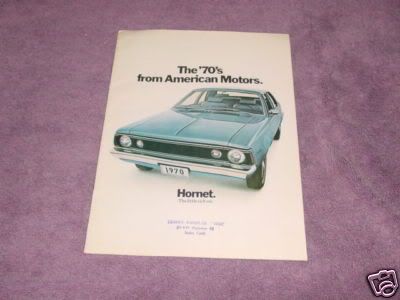
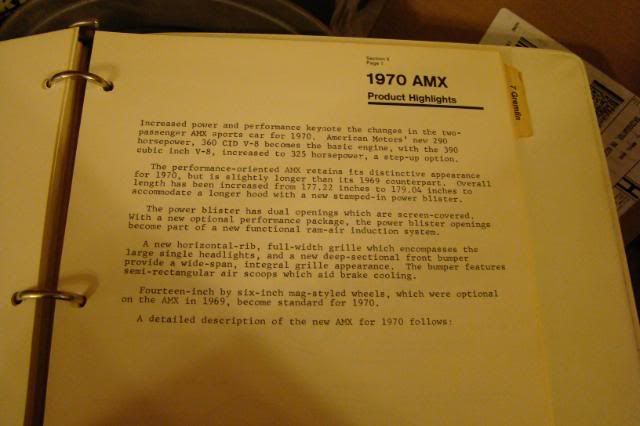
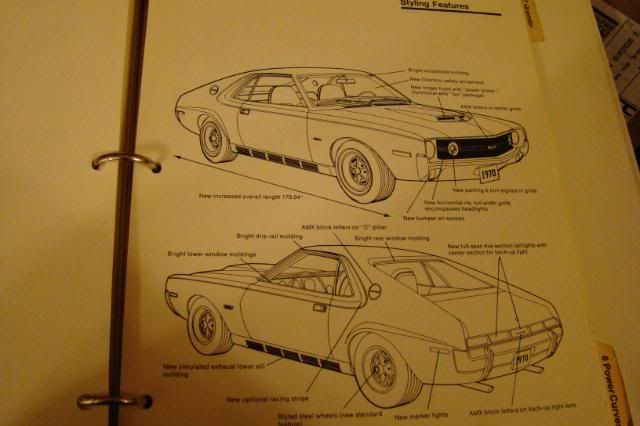
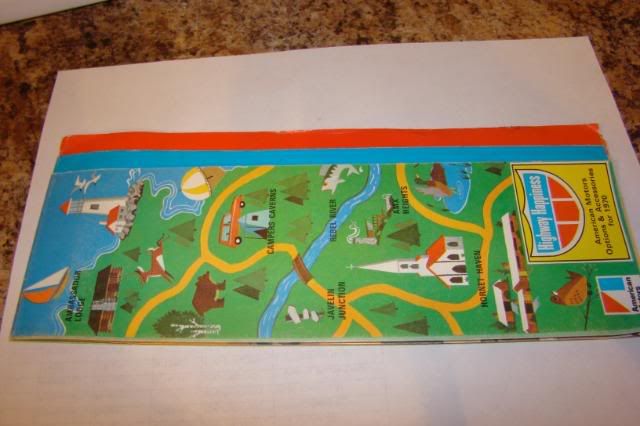
So you want an AMX and you don't know what year you would like the best? First you have to educate yourself to see the differences for each year. you should first purchase some brochures for each year. For 1970, there were two full line brochures: one larger version with various front end sectional pictures and a smaller version with a blue Hornet on the cover (the Trans Am Javelin was no longer offered when this brochure came out, so you will not see pictures of it). Checking these out, you decide you really want a 1970 AMX!

Your next step is still more education. Now buy as many of the old car magazines as you can find that will have info on the 1970 AMX. This will be very helpful in the future (though not always…) 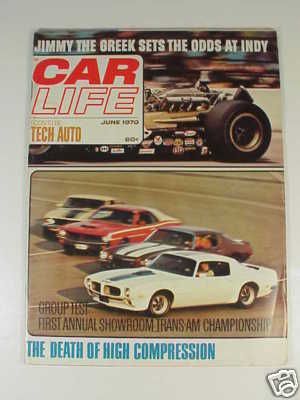
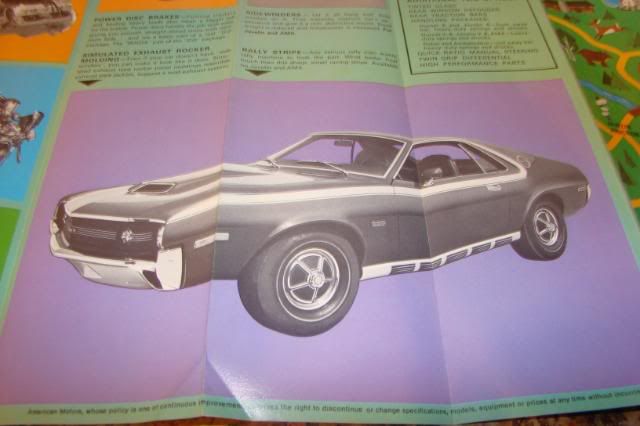
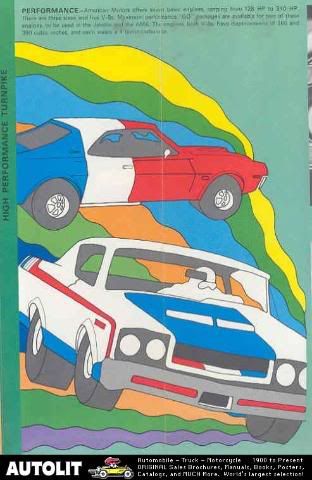
here is a 1970 AMX ad: 
Not factory, but some aftermarket items could also help: 
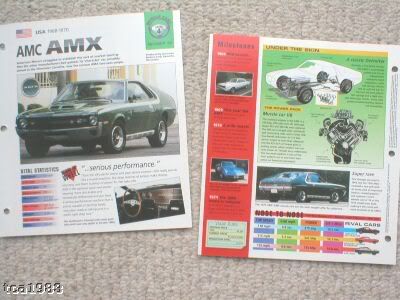
Or more recent articles on vintage cars: 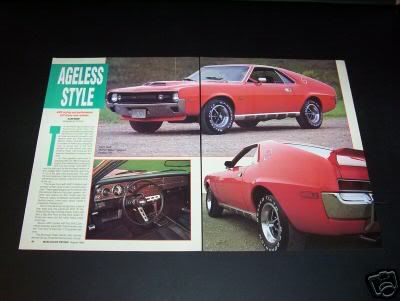
A color chip folder and a Data Book will round out your educational items, and you will be ready to hunt for your car. 
It is now time to look for your 70 AMX. One of the first things you need to do is attend as many cruises, shows, and fleamarkets, and wear a hat or jacket with an AMX patch. 
You will be surprised how many people will come up to you to talk about your AMX, or to tell you about one they are selling, or their brother is selling, etc. Bring a camera and take pictures 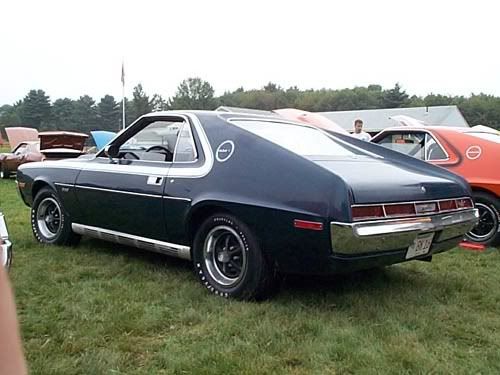
and follow all the auction sites and for sale sites on the web-you never know what you may find: 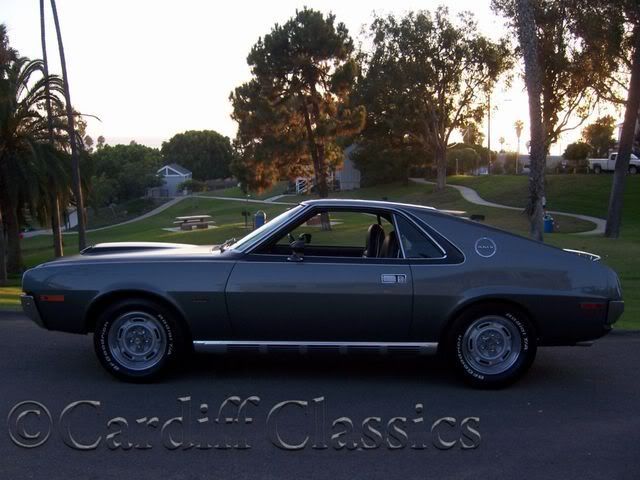 . .
Finally, you go to an AMC show and find the perfect car-it needs some work, but it is just what you want: 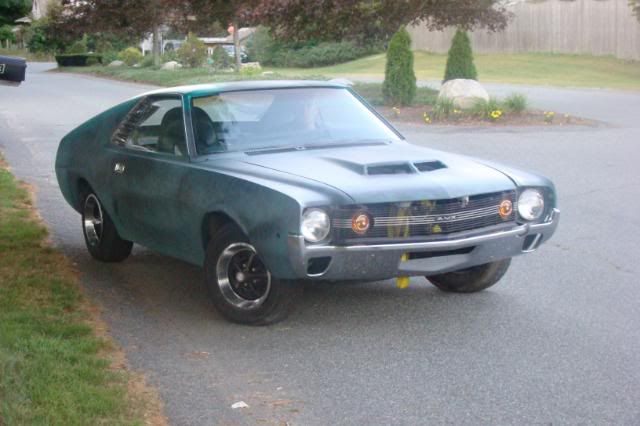
You make the deal and have it delivered to you house: 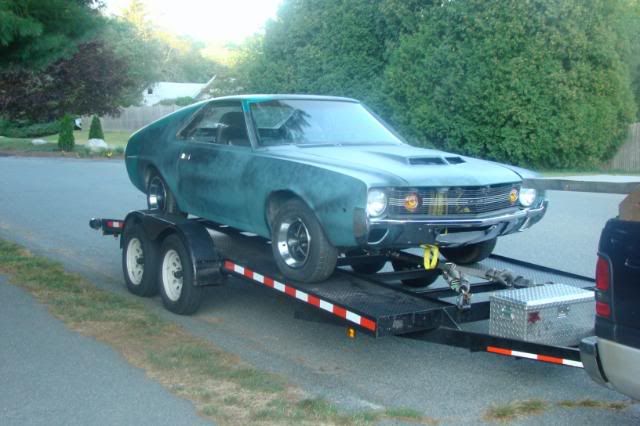
Finally, you have your dream car in your garage-a 1970 American Motors AMX, one of 4116 made! 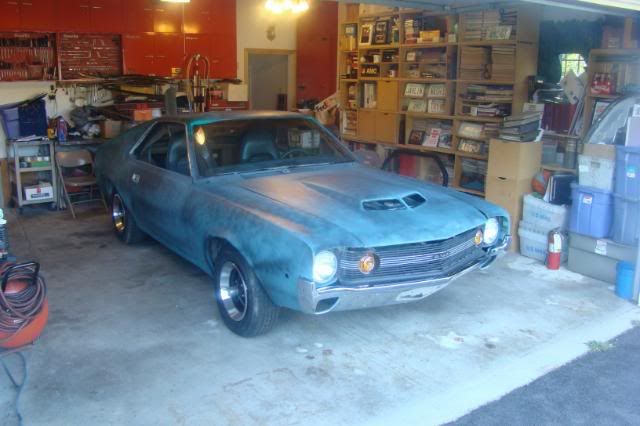
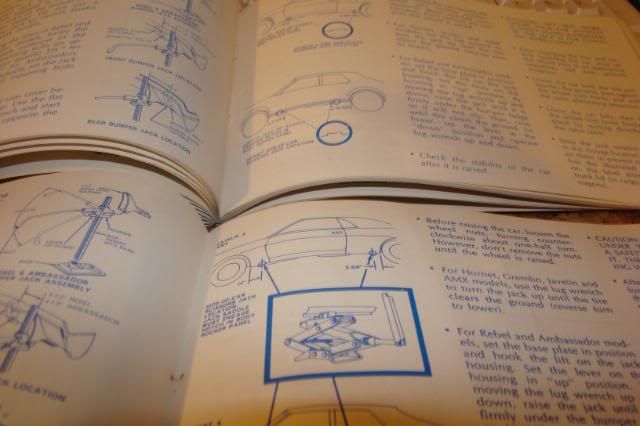
Before you start, there are a few more items you will need to help with your restoration. Just about mandatory is a factory Service Manual. This will help you step by step fixing your car, with all the specs you’ll ever need: 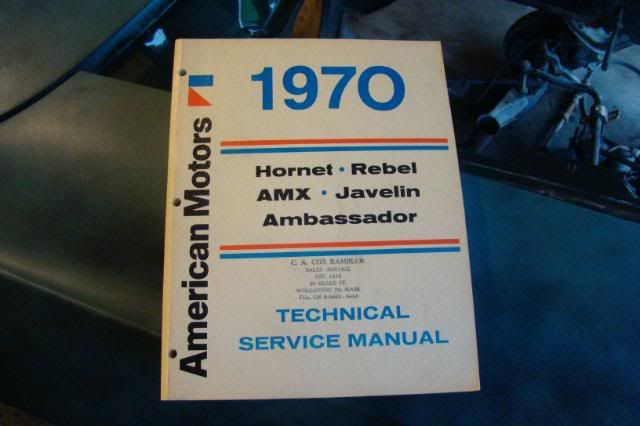
Nice to have would be a complete parts book: 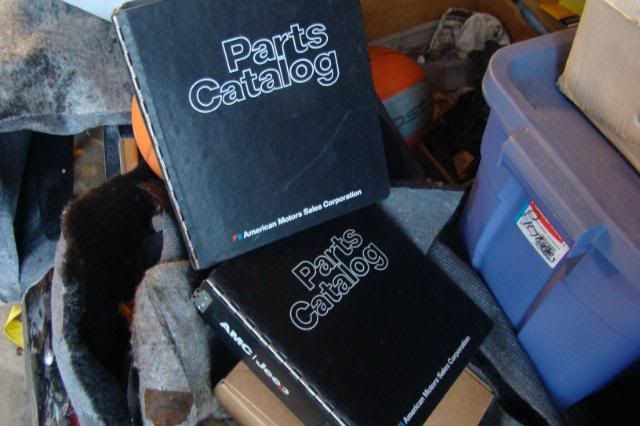
A collision parts book is somewhat helpful 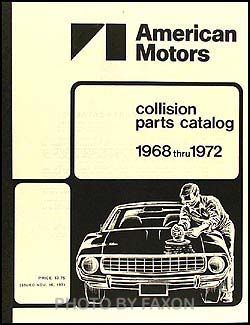
Now you can check out your car (actually, you should do this before you buy it, but this was such a good deal….) Check your VIN. 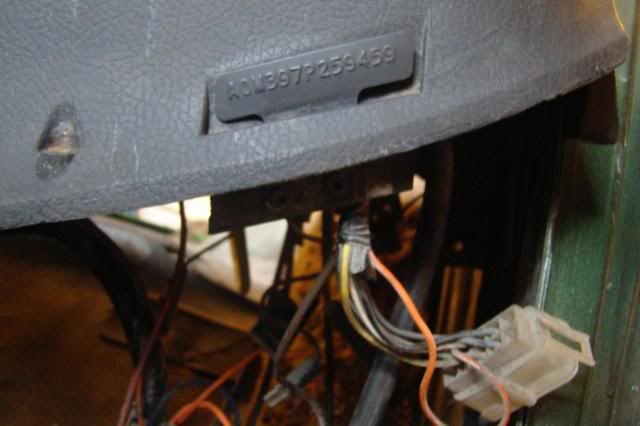
This car is A0M397P259459. This means it is A-American Motors 0-1970 M-4 speed floor shift 3-AMX 9-2 door coupe 7-AMX Package P-360 4 bbl 259459-Order number. If you go to http://theamcforum.com/forum/uploads/1970-Production-numbers.htm you can see this car was put into the system the week of April 4, 1970. It was the 159,459th car ordered this year. New for 1970 is the driver’s door Safety Standards decal. If you look at http://theamcforum.com/forum/forum_posts.asp?TID=5820 You can see where AMC (and other companies) changed their data tags to conform to what standards the car met. This decal just narrowed these standards down to a specific month. The decal on this car shows the same VIN as on the dash, and shows the car was built in 4-70 (April 1970). (Note no sequence number. I have not seen any New England cars with the sequence number on it. Could this be a regional thing, such as the VIN stamped on the block in Tennessee?) 
Next look at the door data tag. 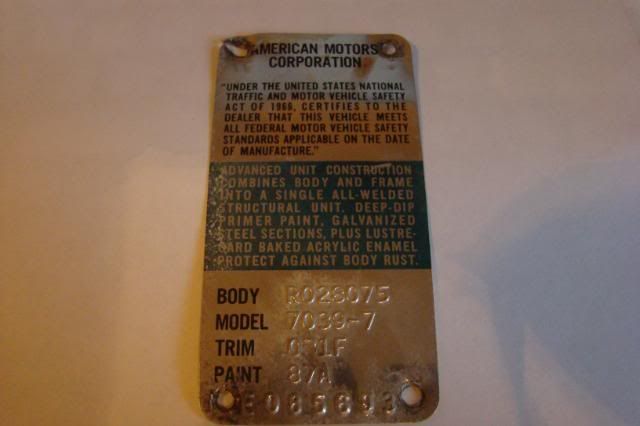
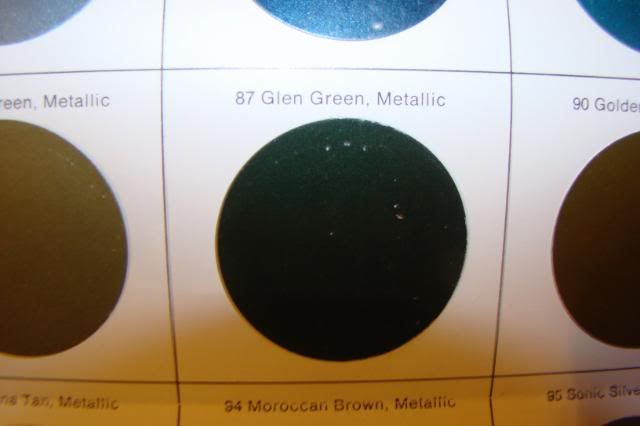
This shows the car is Model 7039-7 which is a (70) 1970 (39-7) AMX (Note 39-7 matches the 4-6th digit of the VIN). The Trim is 031-F, or (0) 1970 (3) AMX (1) Black (F) vinyl interior. Paint number 87A is Glen Green Acrylic Enamel. The Body number is R028075. Again, looking at the Production Number site you will find it was made the week of April 25, 1970. This was the 28,075 AMX or Javelin body made. The Sequence number shows the car was made on the East Line, and is number E085693. Again, going to the Production Number site we found the final build was also the week of April 25, 1970. This was the 85,693 AMX, Javelin, Hornet or Gremlin made in 1970. (To jump ahead. During disassembly, check the stamping under the steering box. It should be the last 7 digits of the VIN. Sure enough, here it is –P259459) 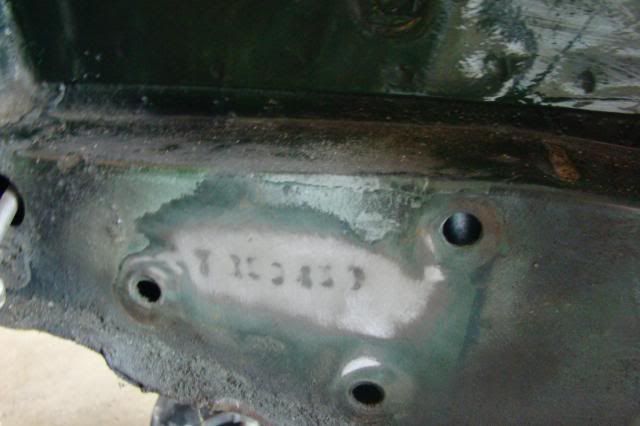
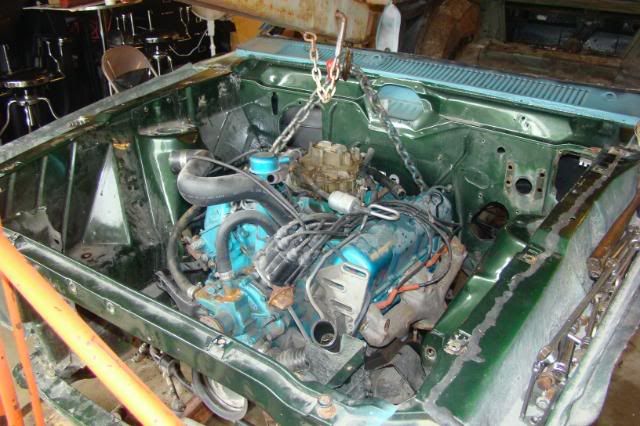
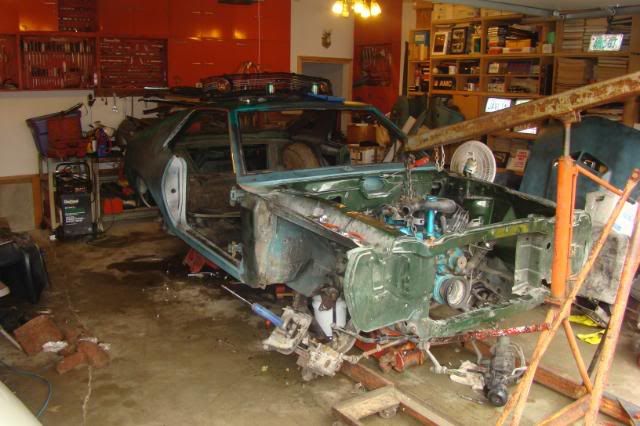
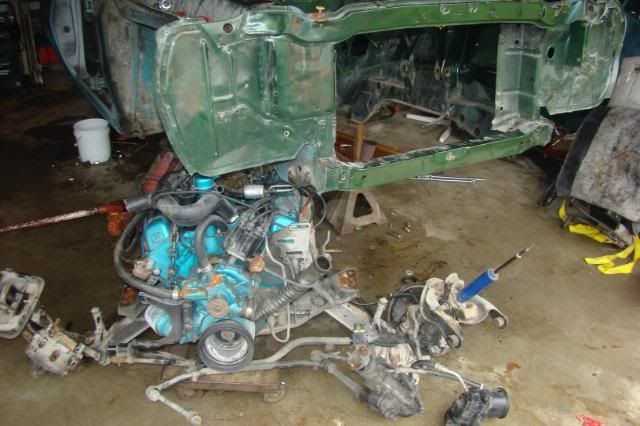
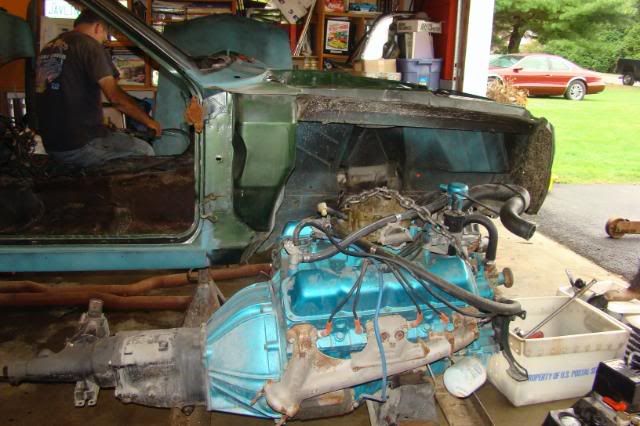
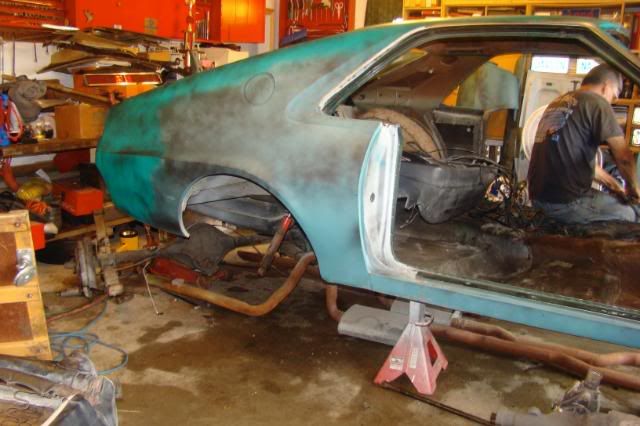
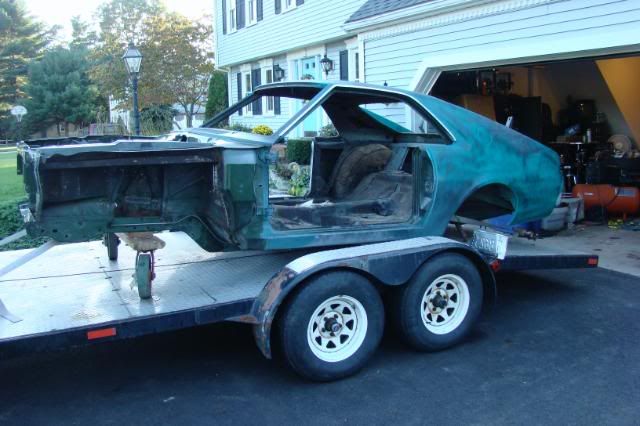
(To be continued-but here are some pics after today’s work party. The car is now almost a bare shell. Not bad for less than 6 hours work!) 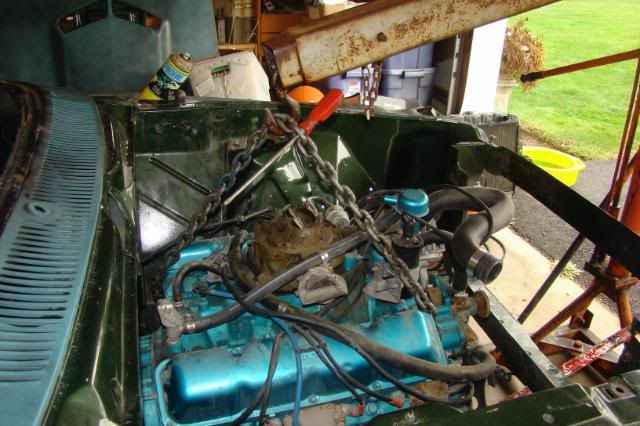

 Edited by tbenvie - Sep/25/2008 at 8:54pm |
|
|
Thomas M. Benvie
|
|
 |
|
|
70MarkDonohue
AMC Addicted

Joined: Jul/09/2007 Location: Missouri Status: Offline Points: 1912 |
Post Options
Thanks(0)
Quote Reply
Posted: Sep/06/2008 at 11:12pm |
|
You going with that motor are you going with a 70 motor I got extra logs manifolds.
|
|
|
|
|
tbenvie
AMC Addicted
Joined: Jul/02/2007 Location: United States Status: Offline Points: 1014 |
Post Options
Thanks(0)
Quote Reply
Posted: Sep/06/2008 at 11:14pm |
|
Though we are keeping the motor, we want the correct log style 70 up exhaust manifold with smog tube provisions (manual shift cars). We have a smog set-up, so it doesn't matter what condition the tubes are in.
Edited by tbenvie - Sep/07/2008 at 7:50am |
|
|
Thomas M. Benvie
|
|
|
|
|
70MarkDonohue
AMC Addicted
Joined: Jul/09/2007 Location: Missouri Status: Offline Points: 1912 |
Post Options
Thanks(0)
Quote Reply
Posted: Sep/07/2008 at 9:13am |
|
I don't think mine are set up for the smog tubes but I'll look. |
|
|
|
|
tbenvie
AMC Addicted
Joined: Jul/02/2007 Location: United States Status: Offline Points: 1014 |
Post Options
Thanks(0)
Quote Reply
Posted: Sep/25/2008 at 8:53pm |
|
Now that you have the car, it is time to check its heritage. Hopefully, you have some paperwork for the car, but for many of us, to include Hanna, there is not much paperwork with the car. So let’s look at everything that may be with the car.
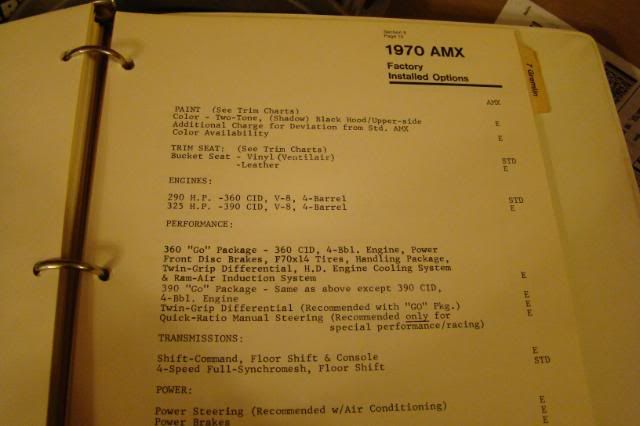
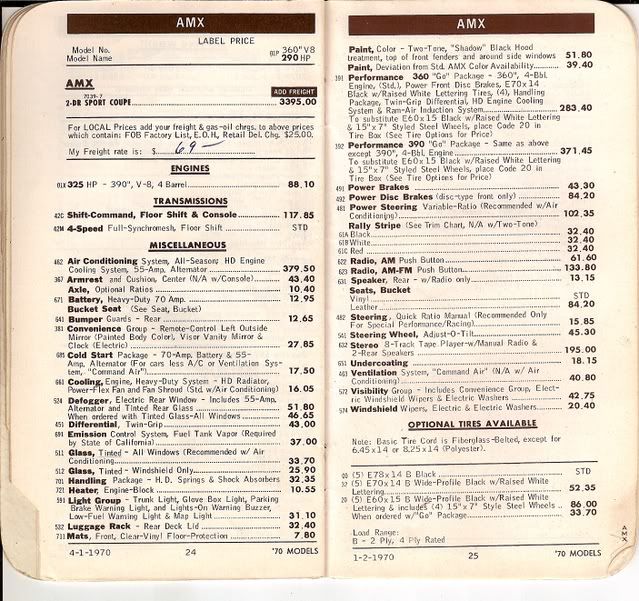
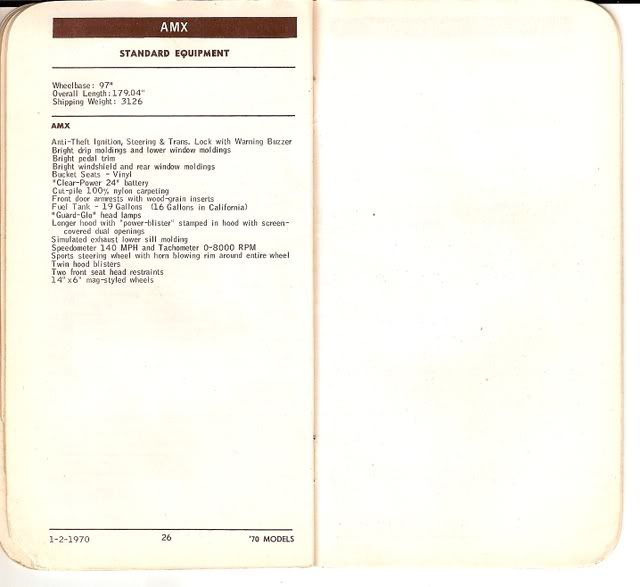
When the original owner wanted to buy the car, they went to a local dealer and sat down with a salesman. (Not many saleswoman at the time). There would be some small talk about what they were looking for, and hopefully the salesman could convince them to buy one off the lot. But for some AMC/Rambler dealers, they might not have any AMXs on the lot. (Wheeler’s Garage in Berlin, MA only sold one two-seater in 3 years-and the original owner still has it!) The salesman would take out the Data Book and look at the various standard and optional equipment for the car. This listed engine/tranny/rearend/tire choices, brakes, steering, heating, radio, etc. The more you bought, the higher the commission! 
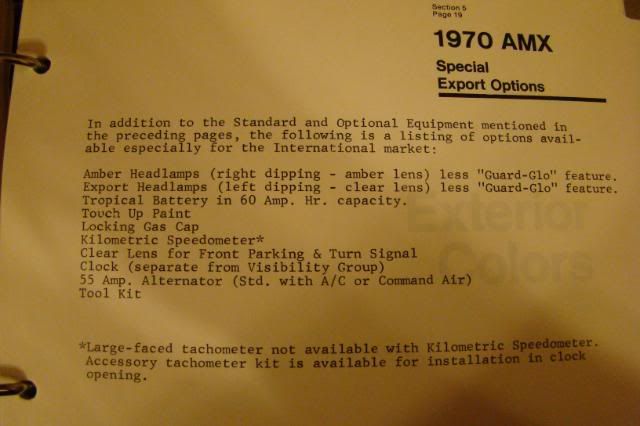
If you were overseas, you would order from this Gold Data Book, exclusively for out-of-country orders. 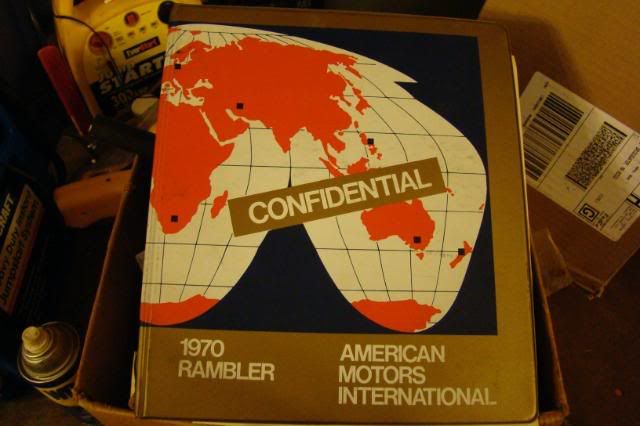
The salesman would use a Initial Proposal Worksheet for that specific year and check off the codes for the various options you want for your car. 
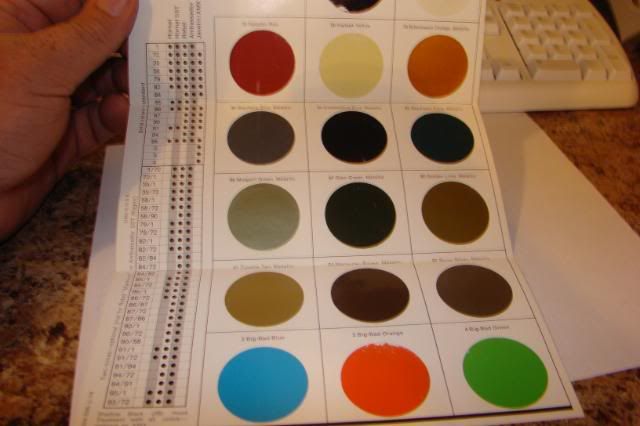
He may also open the Color and Upholstery book so you could see actual color chips and interior material for the car. There are a number of colors for the car, but the interior comes only in Black, tan, red, or blue in vinyl or black, tan, or red in leather. The salesman would then fill in the worksheet order form. You may also discuss a trade-in and then work on the price of the car. 
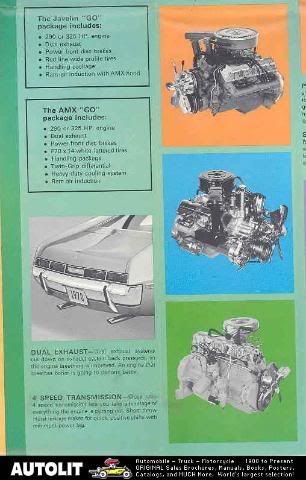
The salesman has a handy Car Ordering Guide in his pocket. These came out every few months and were updated as to prices or options that were added or dropped (such as the luggage rack or Machine mags now factory installed), or sometimes models that were dropped (such as the red, white, and blue Trans Am Javelin in 1970). Here is an April, 1970 example, which would have been used for this particular car. 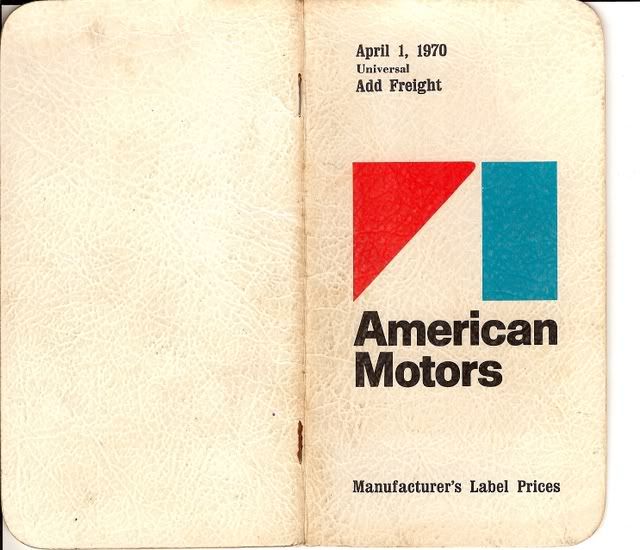
Now it is time to actually write up the order on a 1970 Car Purchase order four-part form. 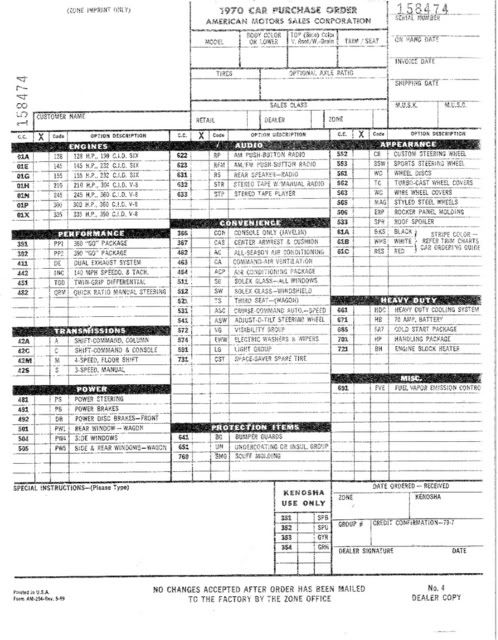
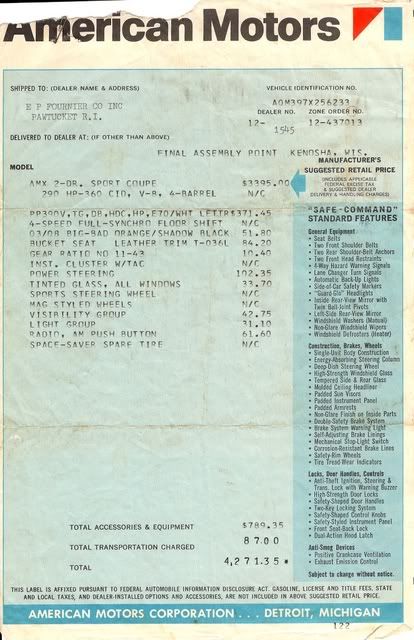
These forms are submitted to the factory and the car is scheduled to be built. Our project car Hanna has the following options and the price of each: 1970 AMX- Glen Green with Black Vinyl Interior--- $3395.00 360 4 speed standard equipment FOB------------------------------------------------ 69.00 Light Group---------------------------------------- 31.10 Trunk + glovebox light, low fuel, map, park brake Performance 360 “Go” Package----------------------- 283.40 Disc Brakes, E70 RWL tires, Handling, Twin Grip, Cooling (HD radiator, Power Flex fan, Shroud) Ram Air Power Steering------------------------------------- 102.35 Rallye Stripe (white)------------------------------ 32.40 Radio-AM------------------------------------------- 61.60 Visibility Group----------------------------------- 42.75 Convenience Group (Remote left mirror, clock, visor Mirror), Electric wipers and washers Total Delivered Price----------------------------- $3948.60 This is pretty much a run-of-the-mill 1970 AMX, equipped similar to almost every other AMX this year (except engine/tranny differences). You next give the salesman a down payment, then wait until the car comes in. Before you leave the saleman gives you a little History of AMC brochure, and a Dealer installed Accessories pamphlet-hopefully you will want a few more items for the car. 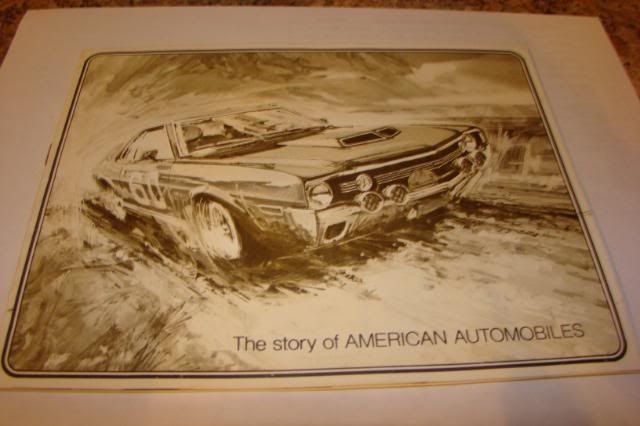
(But why does this 70 have hubcaps? All 70 AMXs had mags as standard equipment). 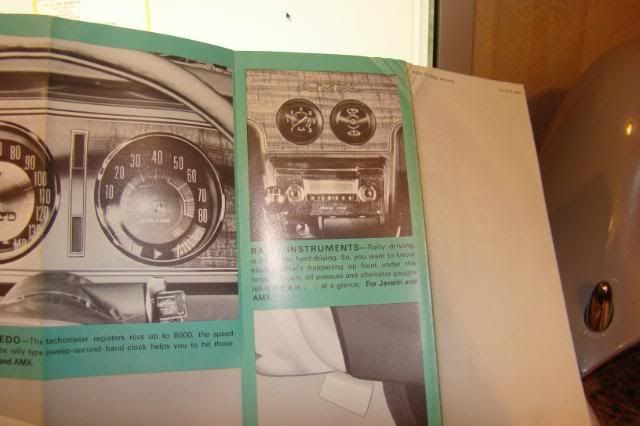
You liked the Rallye Pak, but later find out the picture shows it in the wrong location so you pass. You do add the right side mirror and the Sidewinder side exhaust to your car, plus the small stainless spoiler.. The dealer orders them so they will arrive with the car and can be installed before it is delivered. He looks in the Accessory guide to get the price: 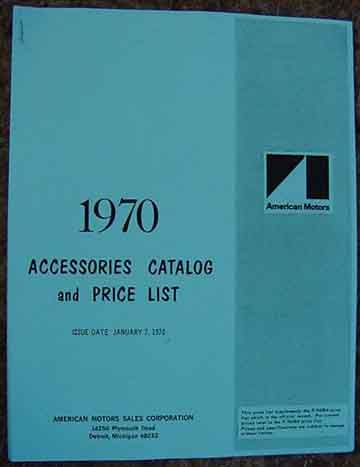
You see another pamphlet as you leave and pick this up as well. 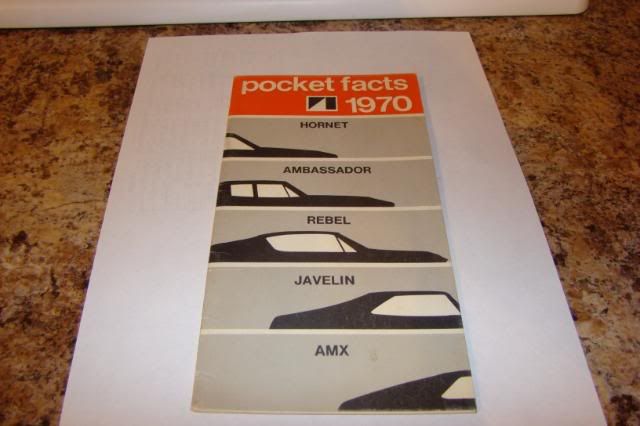
Now you wait. At the factory, the car is scheduled to be built and a Build Sheet is produced for the car. These are attached to a number of parts as the car is assembled, and are often found in the seats, under the carpets, or in the dash of the 70 AMXs. 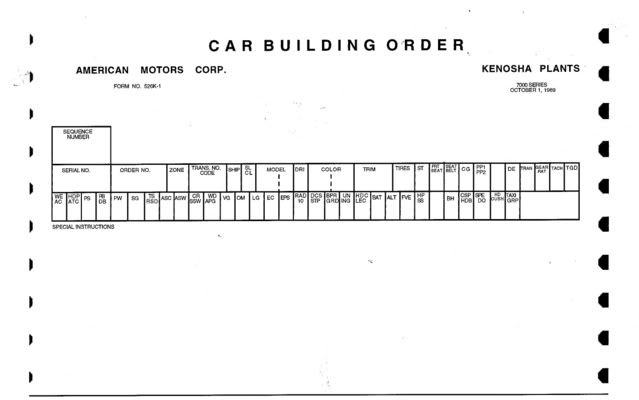
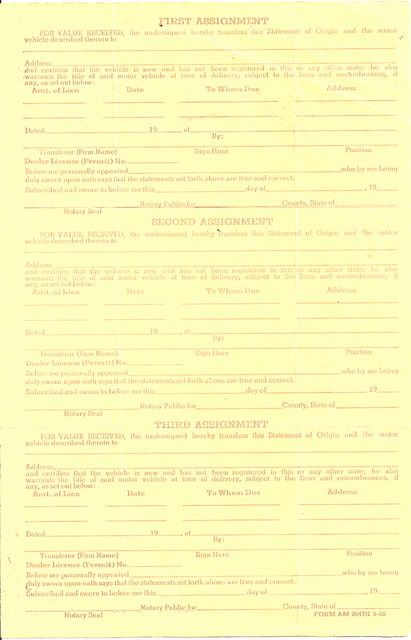
Finally the day is here and you drive down to the dealership to pick up your car. It is a Beauty!!! The salesman asks you to come in and go over a few items. The owner’s kit is ready, plus you have to sign for the car and pay for it. The first thing he gives you is the Statement of origin. This is the original title for the car, and you must turn it in to the local RMV when you register the car. 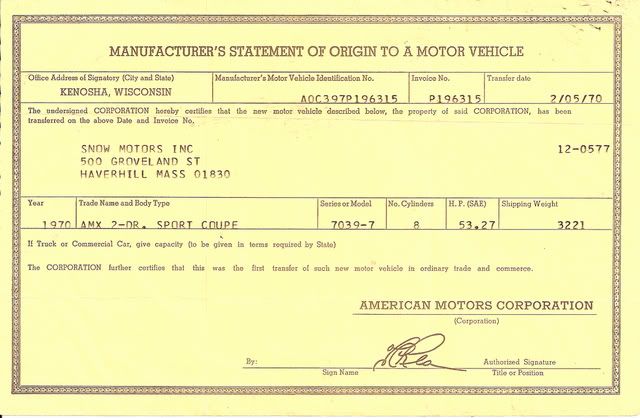
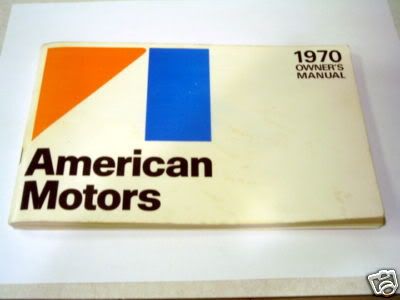
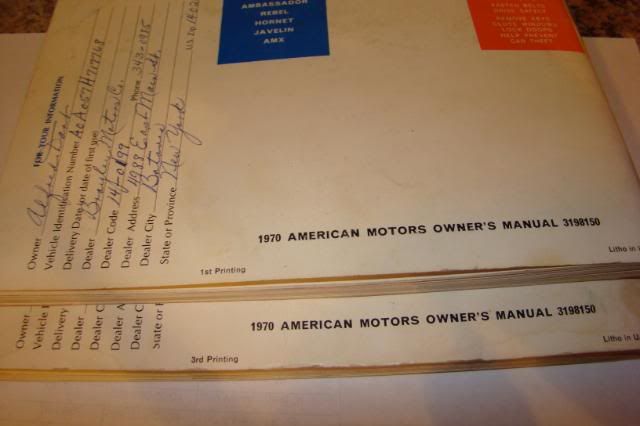
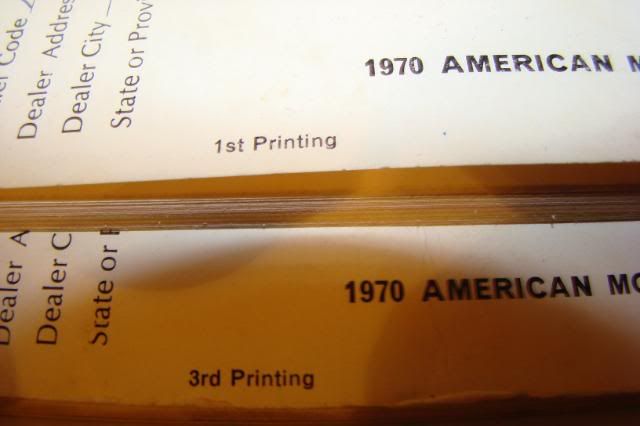
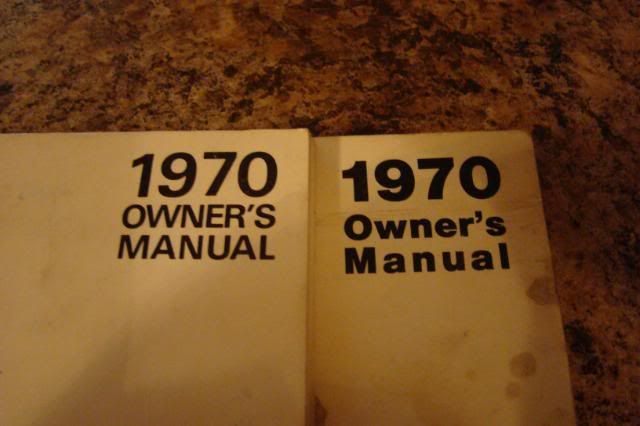
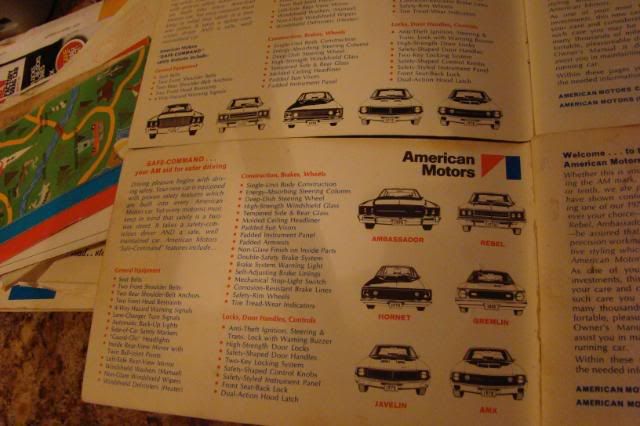
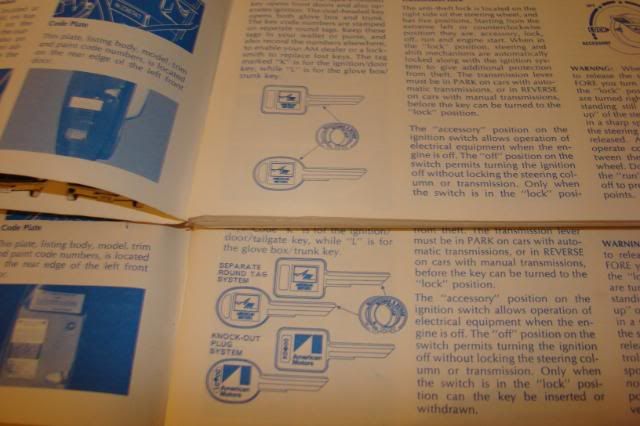
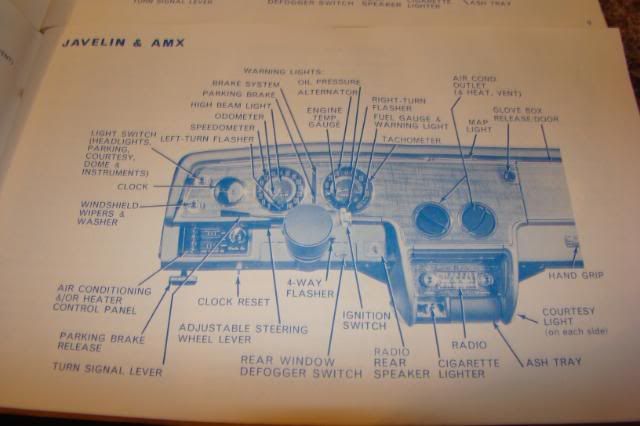
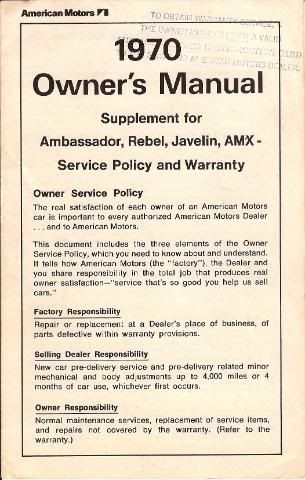
Now he opens the owner’s packet. These were often shipped before the car arrived, so hopefully he has the right one. For 1970 there were 3 printings of the owner’s manual. Each has some changes, but the main change between the 1st printing and the 2nd printing is the addition of the Gremlin, which came out just before your car was built. Your car has a 2nd printing manual. Here are some differences: 
 f f

And Javelins didn’t have Cruise Control, but at least one did! 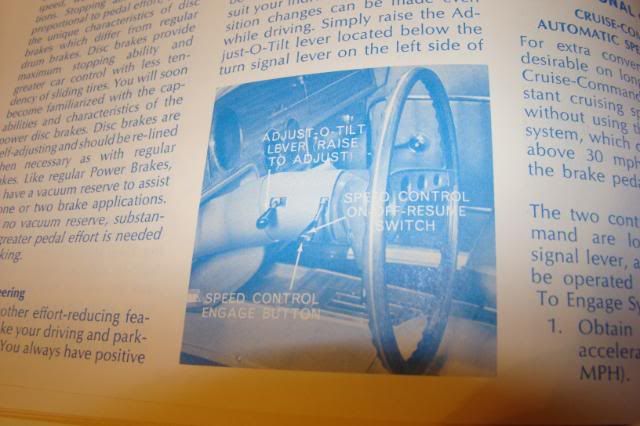
the owner’s manual supplement 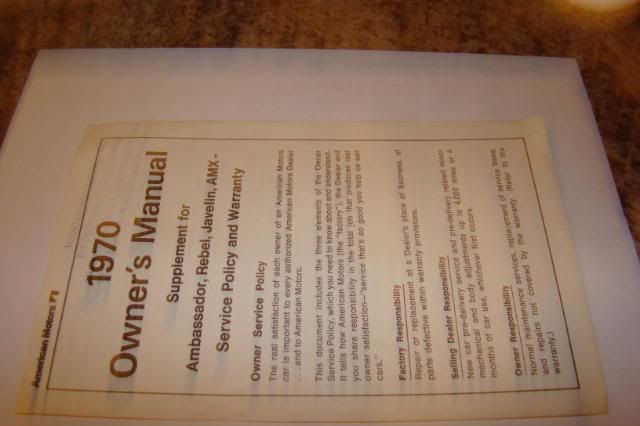
1970 Consumer’s Information manual 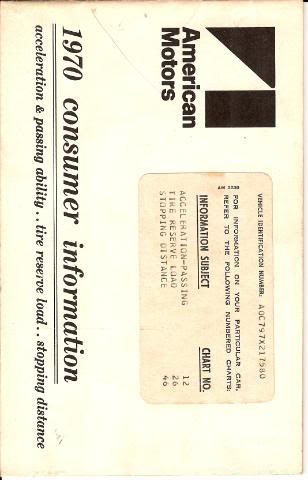
Seat Belt manual 
And a pamphlet required by the government: 
lastly, you are given a copy of the Dealer Pre Delivery sheet, and they carefully removed the sticker price from your car and put it in the owner’s packet. 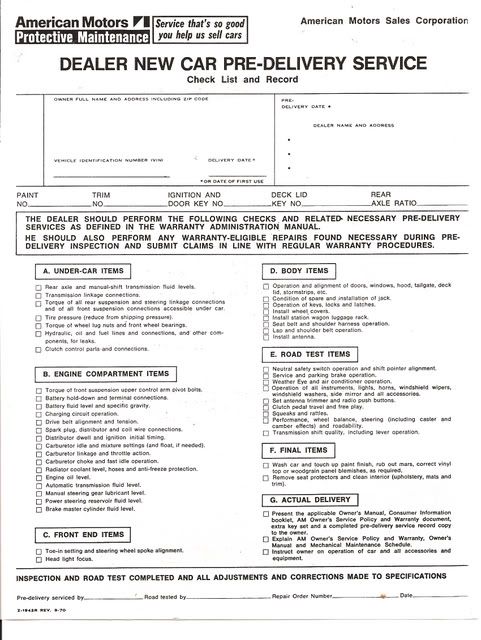
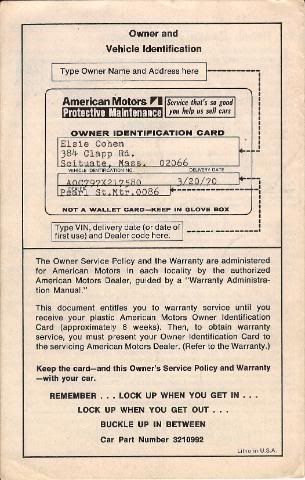
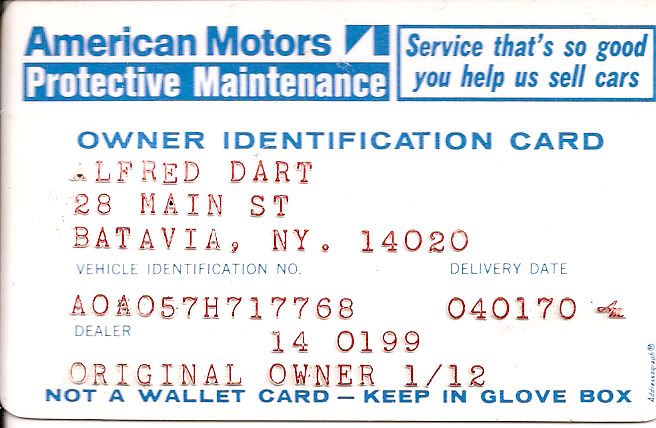
The salesman lets you know you will receive an Owner’s Card in the mail and that it is NOT a wallet card, but should be kept in the special pocket of the Owner’s packet plastic pouch. 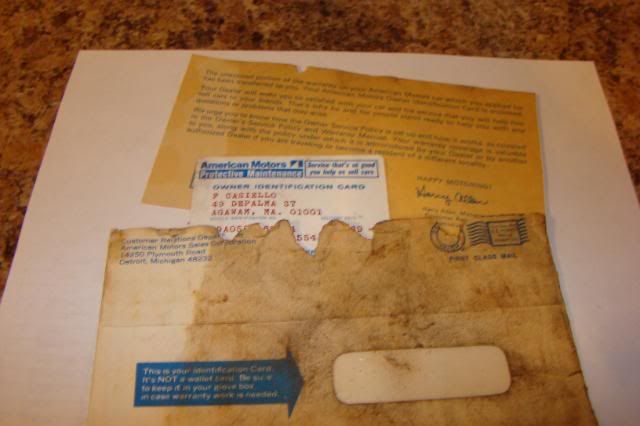
later you get a letter from BF Goodrich with a special decal to put on the Spacesaver Spare tire. 
Finally, it’s time to leave. On the way by the Parts Department you pick up a book about performance mods. Maybe that will come a little later? 
You also would get a second set of keys in a special envelope, plus any of the loan/payment forms, and a bill from the Service Department for installing the dealer installed options. This would be pretty much what you would find in the glove box of your car when you bought it if you got everything. Did I miss anything? |
|
|
Thomas M. Benvie
|
|
|
|
|
72Javelin
Supporter of TheAMCForum 

Joined: Jul/01/2007 Location: United States Status: Offline Points: 2466 |
Post Options
Thanks(0)
Quote Reply
Posted: Sep/25/2008 at 9:48pm |
|
The AMO Tech Editor bows to the wealth of knowledge shared by the great AMC guru Tom Benvie...
 I'm learning lotsa stuff! |
|
|
Jeff Reeves
Auburn, GA AMO Technical Editor Currently AMC-less after 30+ years |
|
|
|
|
tbenvie
AMC Addicted
Joined: Jul/02/2007 Location: United States Status: Offline Points: 1014 |
Post Options
Thanks(0)
Quote Reply
Posted: Sep/25/2008 at 9:56pm |
|
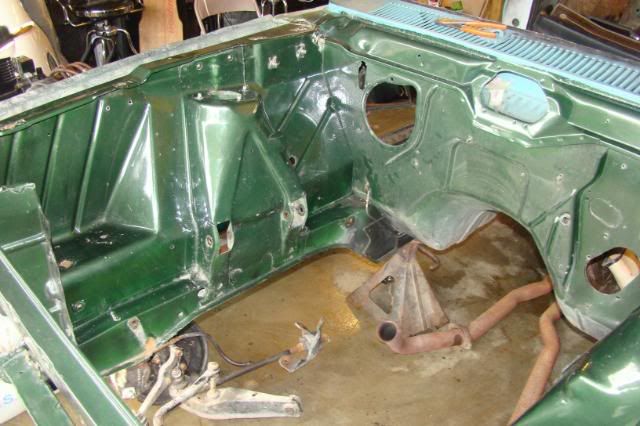
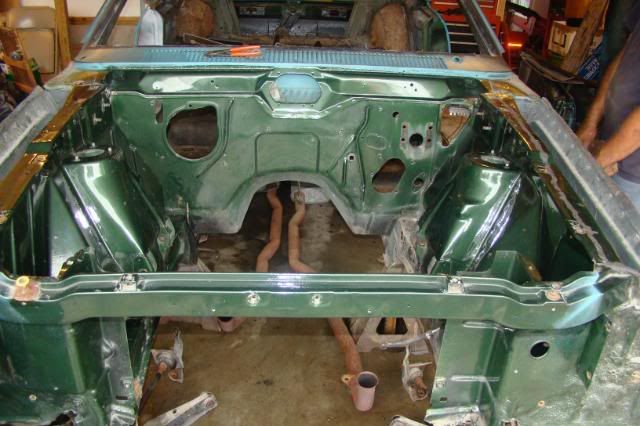
Thirty Eight years later and it is time to restore Hanna back to original. Fortunately, she has not been too abused-at least for New England standards. The gussets are perfect, as are the floors, core supports, rockers, windshield posts and even around the front and rear windows. Fenders and doors also have no rust. There is a rust hole in the trunk where a rag was left sitting, and the lower quarters were rusted but are now repaired. Though it has been said the car was a lot worse than expected, all you rust belt areas should really look at the car and see how great it is!
We have had the car for three weeks now, and a lot has happened. Friday of the first week had the car displayed at a large Cruise Night, still in complete form. We handed out flyers about the project and all the money from the sale of the car would go to Children's hospital. received a lot of support, plus a number of people stopped to tell us about their experiences with the hospital. Week one was a time to disassemble the car, and on Saturday everything that could come off the car came off. Week one ended with the drivetrain out of the car, the interior out, and all body panels removed. Week two and the glass was removed, then all the undercoating was removed from the front wheelwells. The whole front suspension was also disassembled. A lot of time was spent contacting people to solicit help and donations. I will post a list of who donated what and the parts we still need later this week. (And okay, no one stepped forward when the Red Sox lost and Brady was hurt in the first quarter. But now you really have to cheer up us New England guys because not only did the Patriots lose, they got their butts kicked. Please, cheer us up and donate something). This weekend was rainy so we did not go back to the cruise night. Week 3 was beautiful, so we loaded up the body shell and went to the Cruise Night. We got a lot of publicity at the show, and the announcer talked about the car three times before we left! the proceeds from all the summer cruises here go to Children's Hospital, so they were thrilled to see another project for the cause. Saturday was spent cleaning parts, removing leaf springs and torque links, and about 7 hours was spent removing the bedliner material from the trunk. This stuff was a quarter inch thick and did NOT want to come off. Unfortunately, the trunk floor was not cleaned out first and there is some small rust holes that formed under the material. We have another work party Saturday. We hope to remove the gas tank and shocks, remove undercoating from the rear wheelwells, and start blocking out the body and panels. A number of shops are lined up to help with the project, and we hope to have the car to a stripper next week to further clean under the hood, the wheelwells, and the trunk area. Here are some pics: Loaded for the Cruise Night: 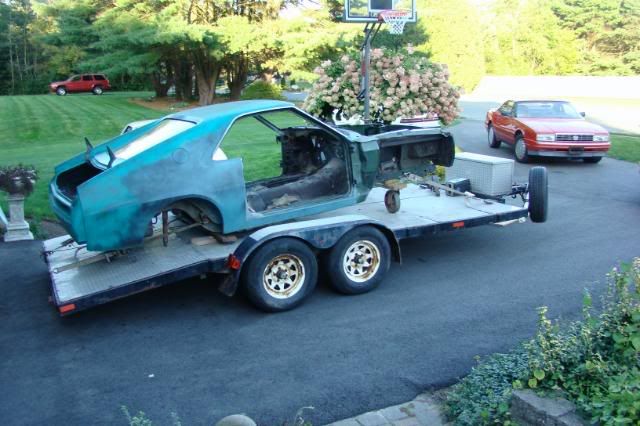
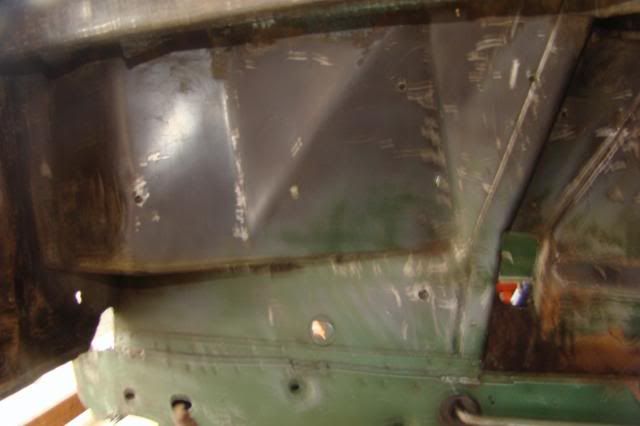
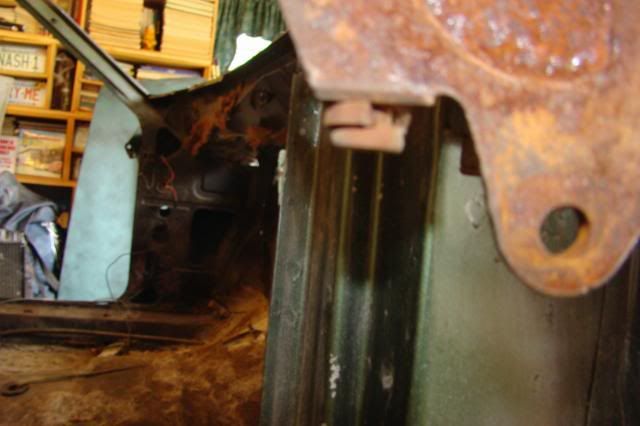
Scraping the undercoating from the front wheelwells, getting them ready to paint: 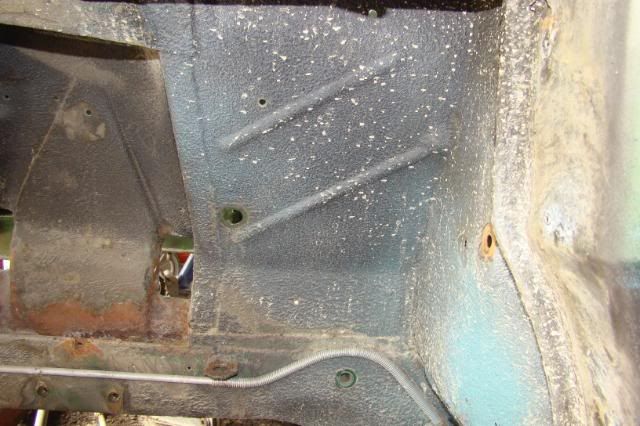


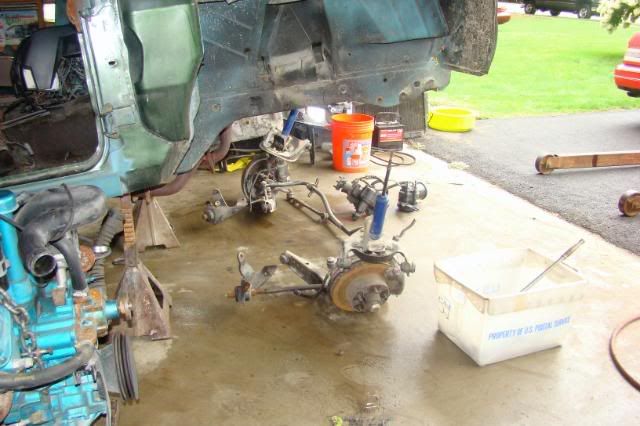
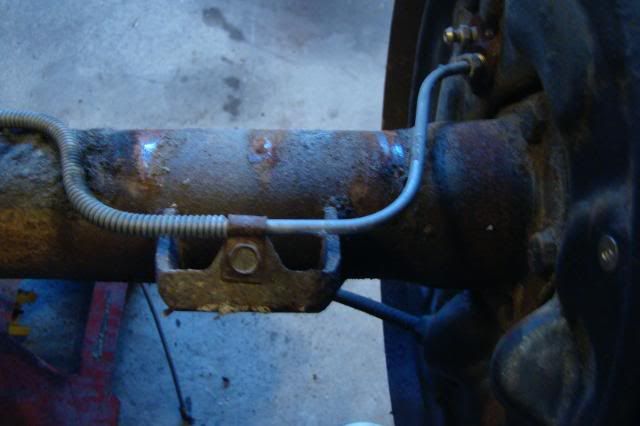
Here is the rearend. The springs are shot, and look at the bushings for the torquelinks: 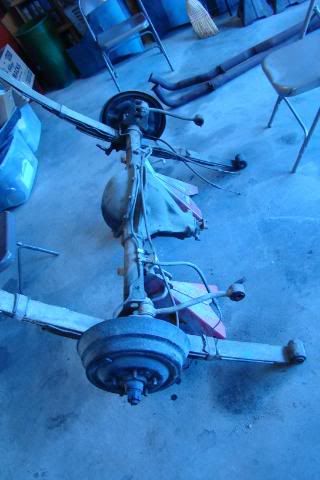
The stud is broken off here and will need to be drilled out 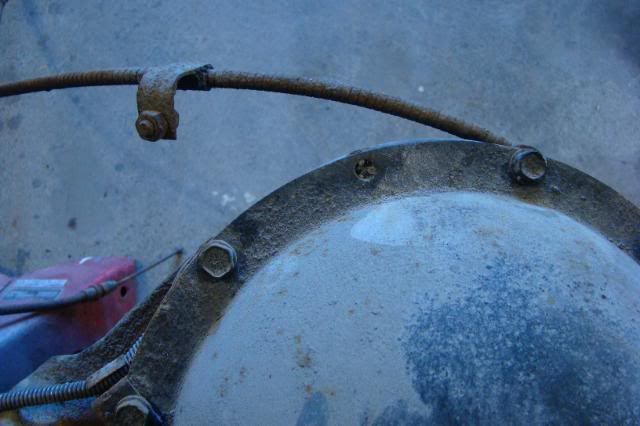
here is the machined pad with the code stamped into it for the rearend gear size. hard to see, but the letter states they are 3.54:1 gears, standard on 4 speed cars 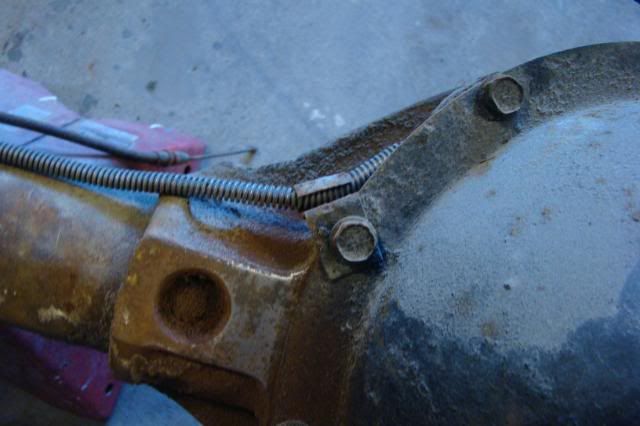
Notice the flat part of the rear axle U-bolt 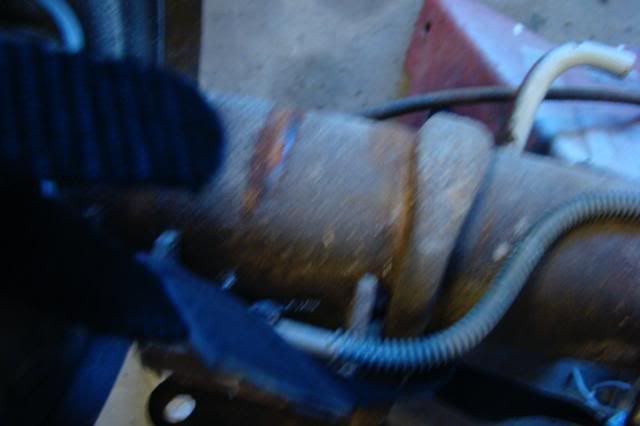
Worn torque link bushing 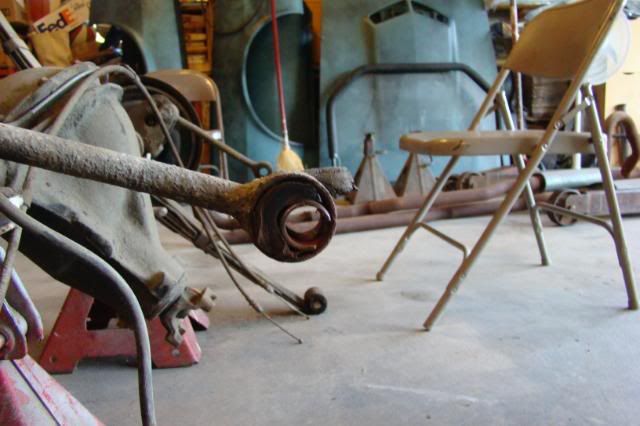
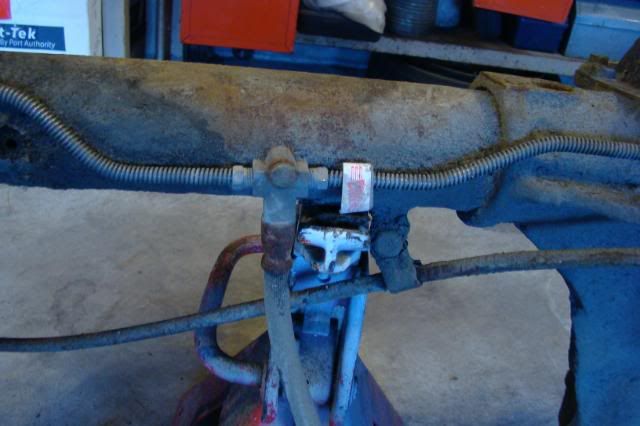
And this is the adjustment for the torque links-note they are all the way to the end 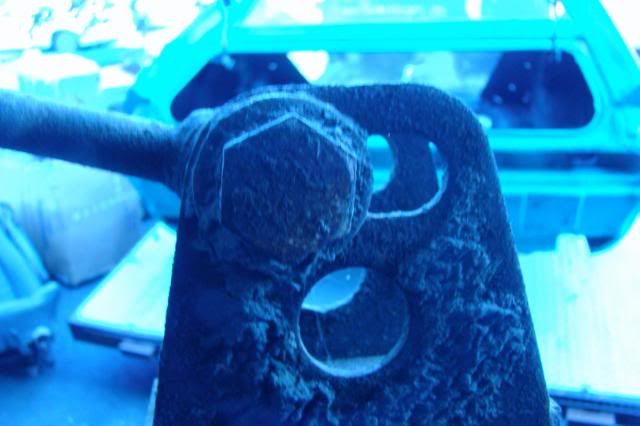
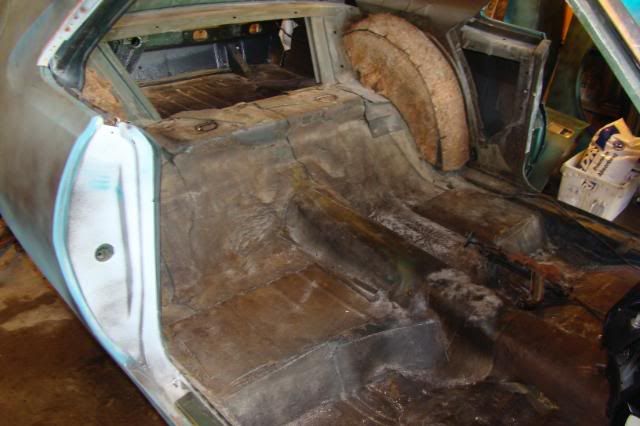
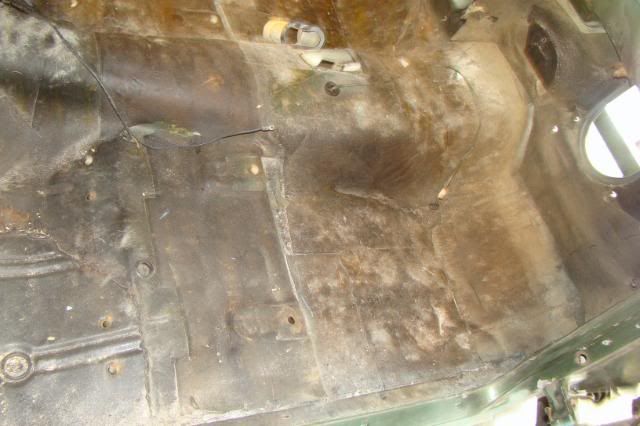
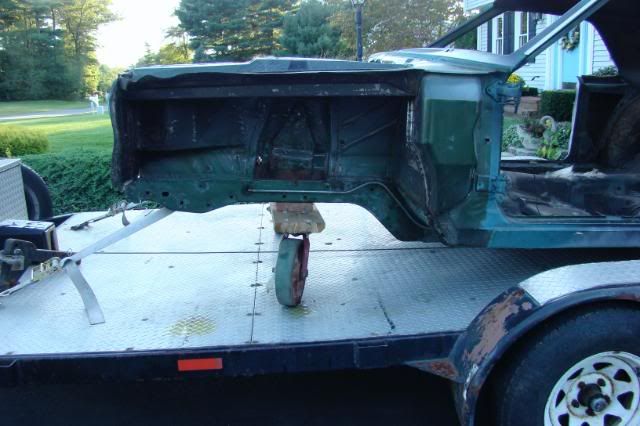
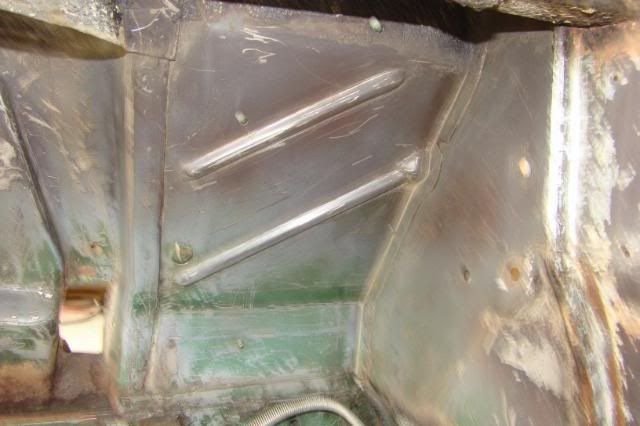
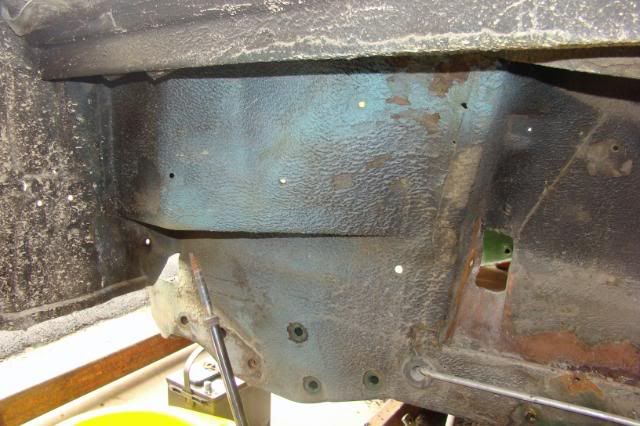
Here is the bedliner coming up from the trunk floor 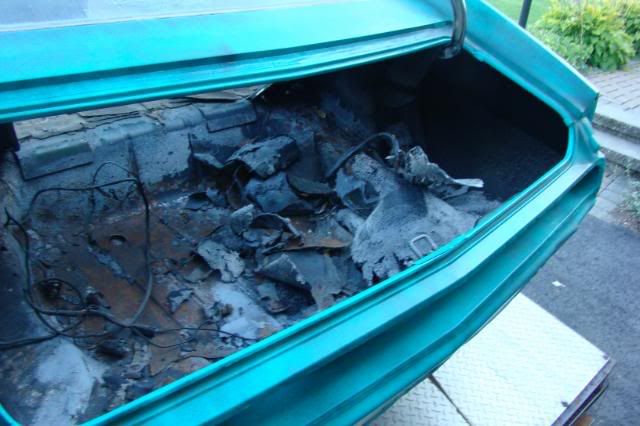
And look how thick it was! 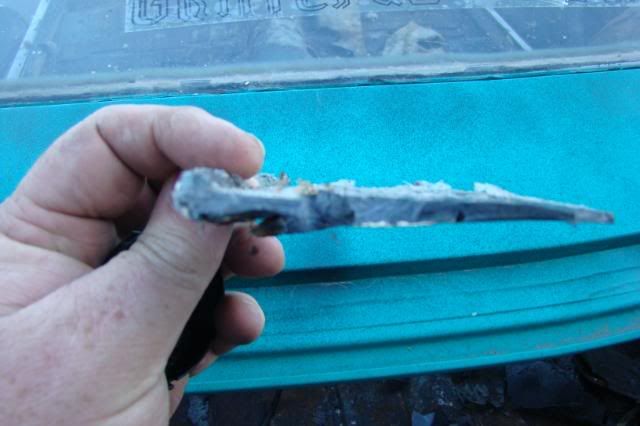
This rear window has the correct date code. The windsheild was cracked, but was not correctly date coded anyway. (Hard to see the etched date) 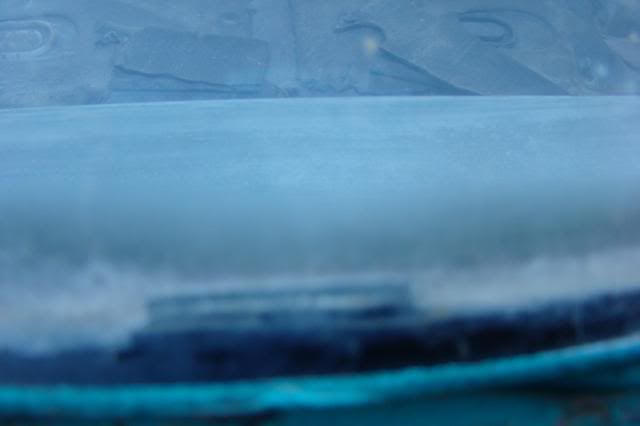
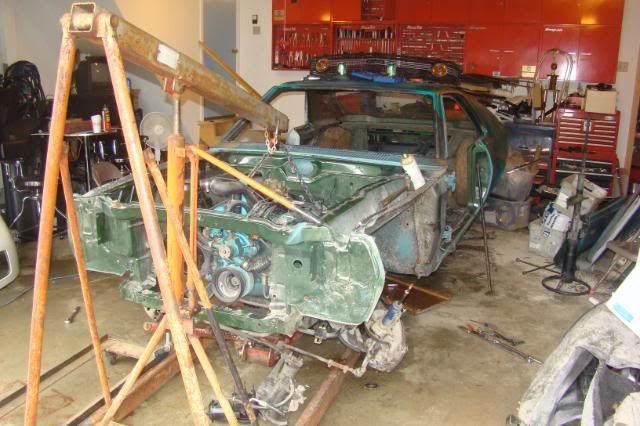
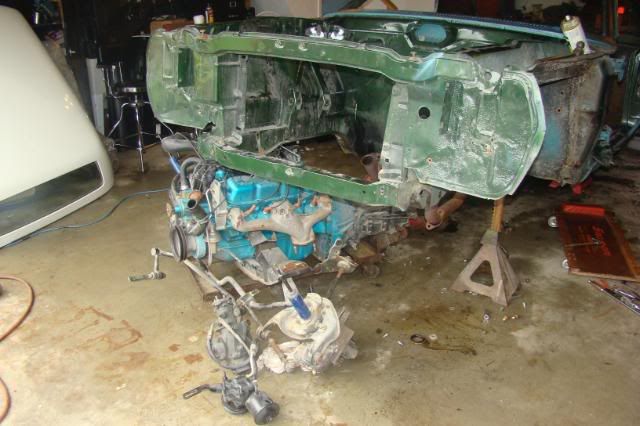
And here is the whole front suspension 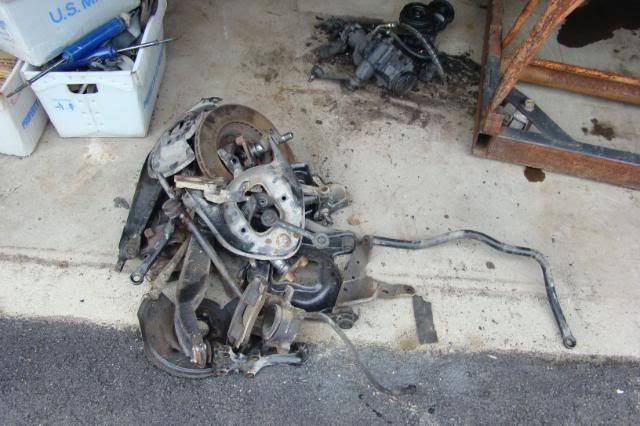
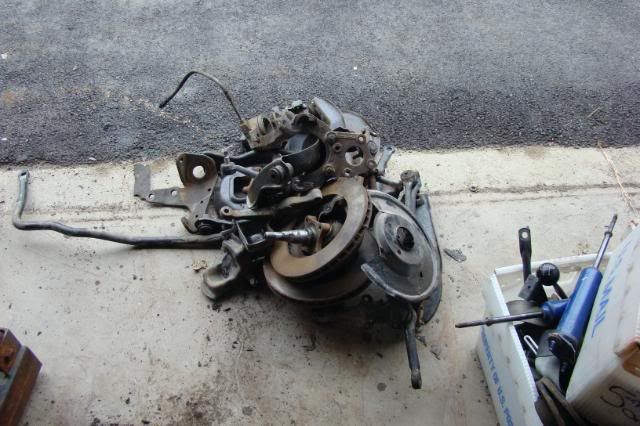
More to come-before you know it we will be putting it back together! Edited by tbenvie - Sep/29/2008 at 4:30pm |
|
|
Thomas M. Benvie
|
|
|
|
|
farna
Supporter of TheAMCForum
Moderator Lost Dealership Project Joined: Jul/08/2007 Location: South Carolina Status: Offline Points: 19676 |
Post Options
Thanks(0)
Quote Reply
Posted: Sep/26/2008 at 1:48pm |
|
The front suspension was rebuilt early on, so it should go back together okay with just new boots for the ball joints (I'm assuming they were ruined when the ball joints were removed). Of course I'm sure you'll inspect everything as it goes back together, just reminding you that the suspension was rebuilt in Georgia and shouldn't need much more than cleaning and painting.
You're doing the hard work that no one really wanted to do, mostly because of the time involved (and the mess). It needed stripping back down like this, that's for sure! I bet that thick bed liner was used to "repair" the holes in the trunk that you're finding. |
|
|
Frank Swygert
|
|
|
|
|
tbenvie
AMC Addicted
Joined: Jul/02/2007 Location: United States Status: Offline Points: 1014 |
Post Options
Thanks(0)
Quote Reply
Posted: Sep/26/2008 at 3:59pm |
|
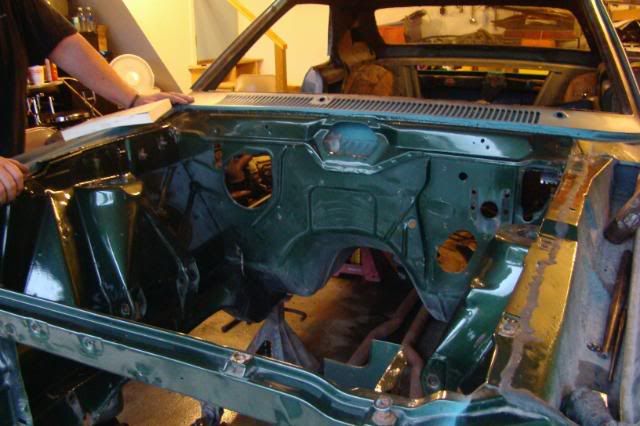
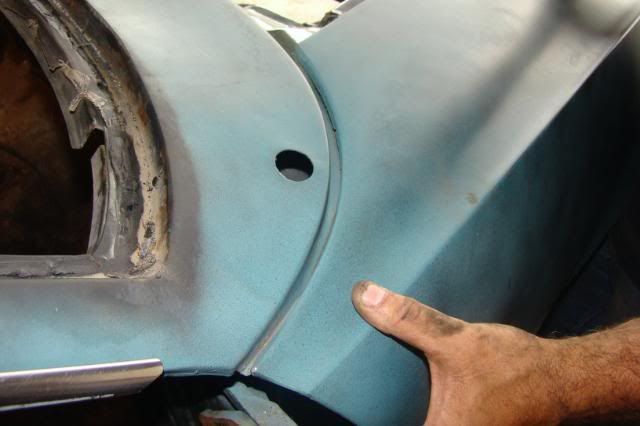
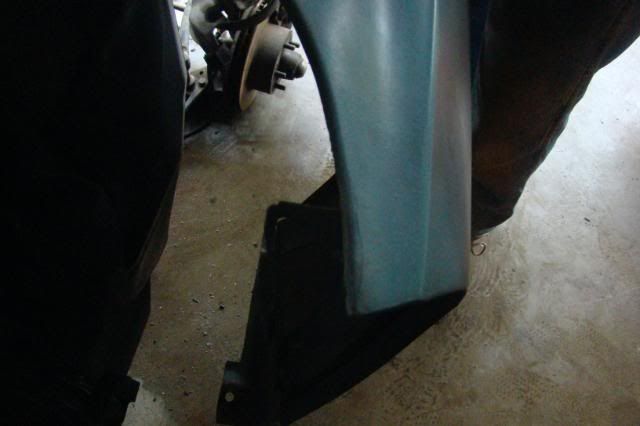
Before the car is reassembled, body panels have to be “fitted” to the car to assure proper gaps. To do the panels correctly, there is an order to how they should be aligned. The first panel to align is the fenders. Now, this is one of the last panels installed, but the fit at the cowl is important for the fit of the rest of the car. No bolts required here-just hook the fenders on the lip and check the gap between the top of the fender and the cowl. Here is a before picture of the fender/cowl alignment of Hanna.
The fix is simple-just tap the lip from the cowl so it is tighter, and lightly hammer the edge of the fender where it attaches to the lip. 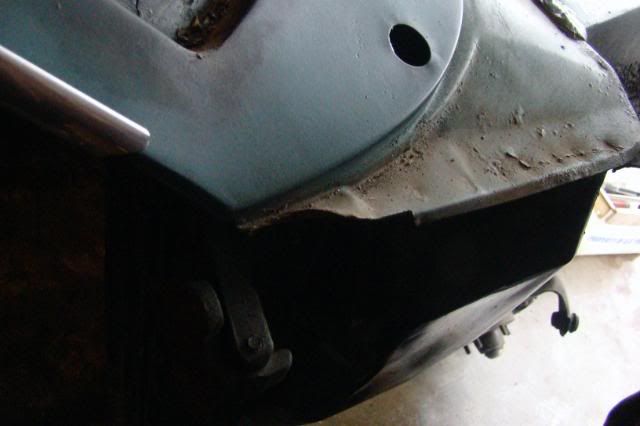
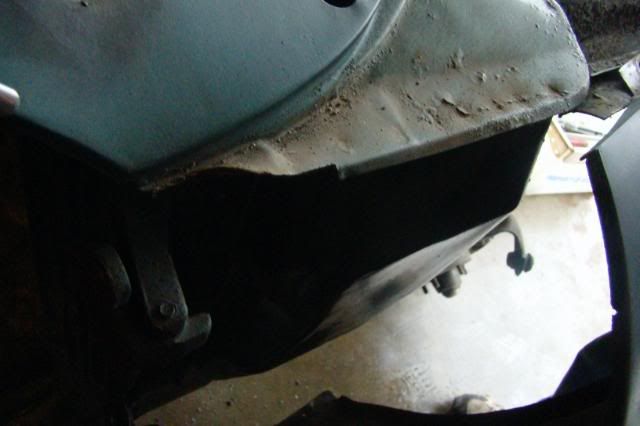
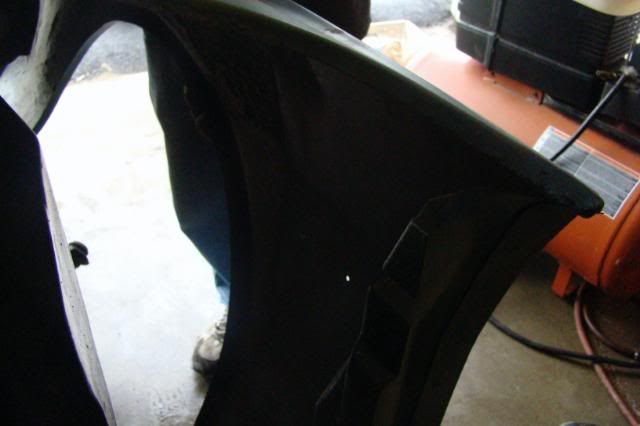
Put the fenders back on and check the gap. It may take a few times, but eventually the fit will be perfect. This is important to get the body lines between the fender and door and the fender and hood. Here is a good gap: 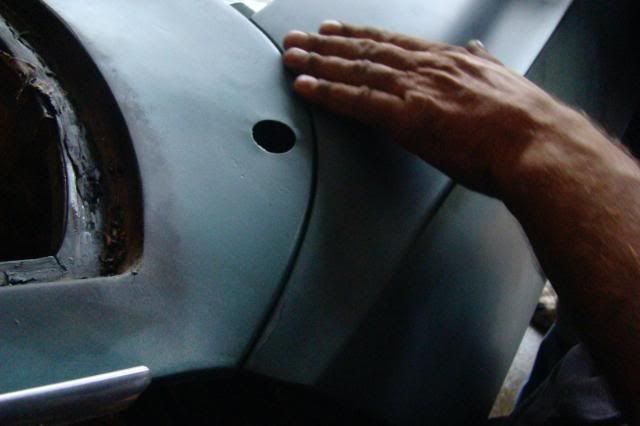

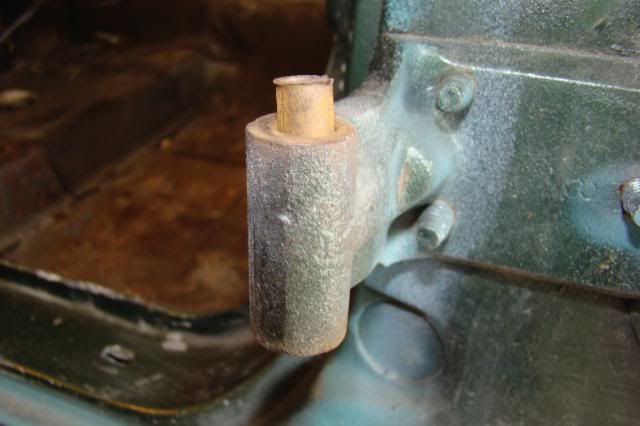
The next panel to align would be the doors. AMC used nylon bushings in the hinges to prevent wearing the pin hole. Unfortunately, nylon was not the best choice (the replacements are bronze). Each hinge has two bushings and a pin. The top hinge also has a “windstop” and a spring (these hold the door open). On 68s, the bottom hinge also has a separate bracket used as a stop so the door doesn’t open too far. The hinge was changed in 69 (and has one less bolt in the bottom hinge). To check your hinges just grab the bottom rear of the door and lift it up and down to see if there is any play. There should be almost no play at all. If there is, the hinges are bad (and this usually causes the striker to wear. The striker attaches to the inner door jamb and the door locks onto it to hold it closed). To repair the hinge you just have to knock the pin out of the hinge. Using a punch, just hit the pin and it usually (though not always) pops out. (It is held in place by a serration at the bottom of the pin, near the head). Once the pin is out, use the punch to push the remainder of the bushing out. Here is a complete top hinge (the pin has been knocked through about a half inch): 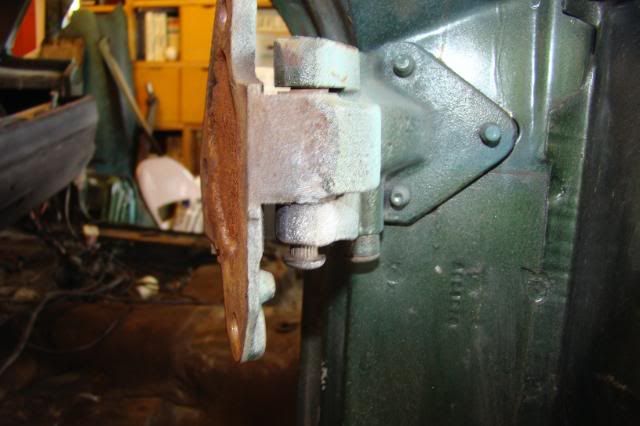
Knocking the pin out (top hinge): 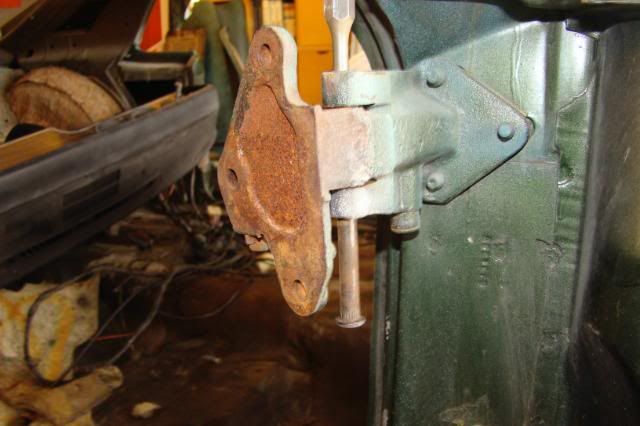
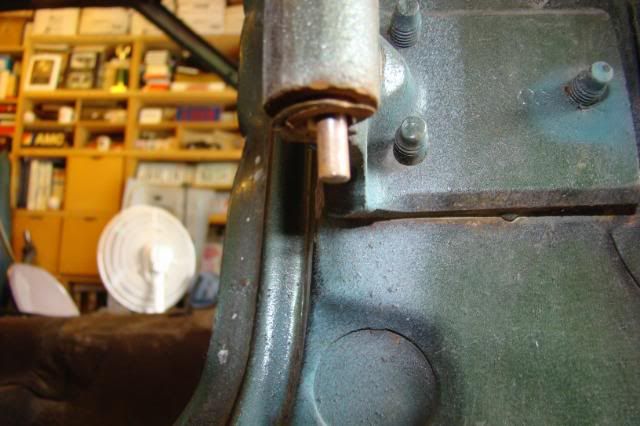
Pulling the pin through (bottom hinge): 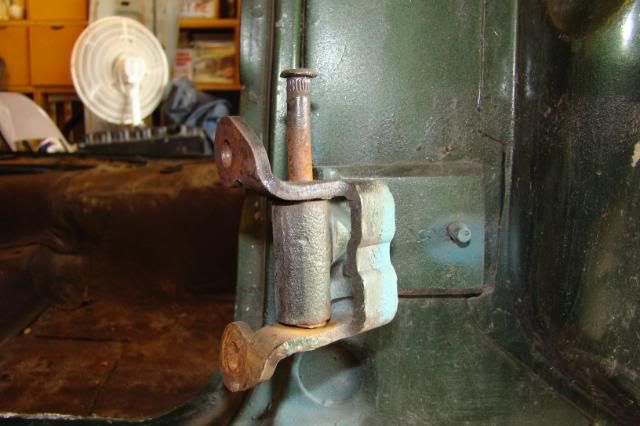
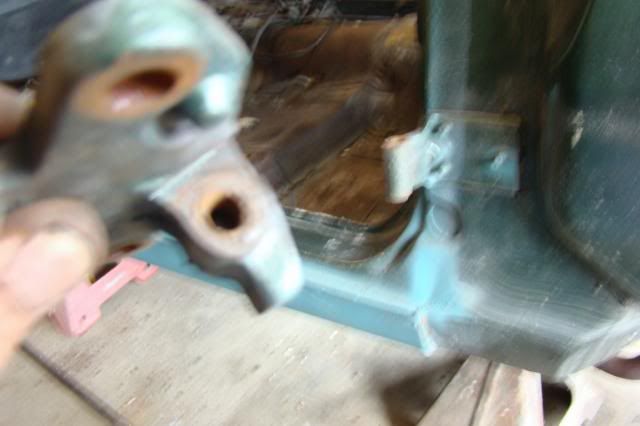
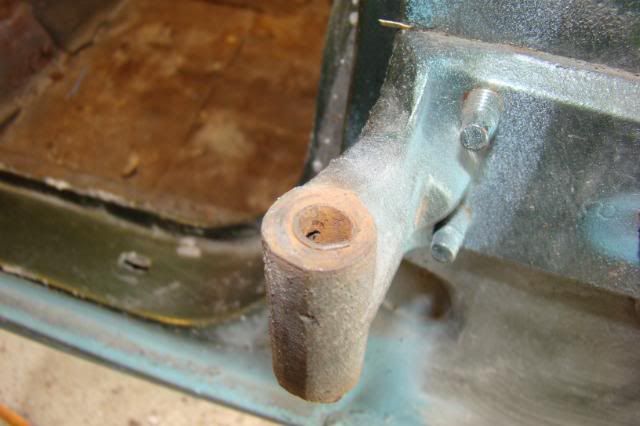
Removing hinge half: 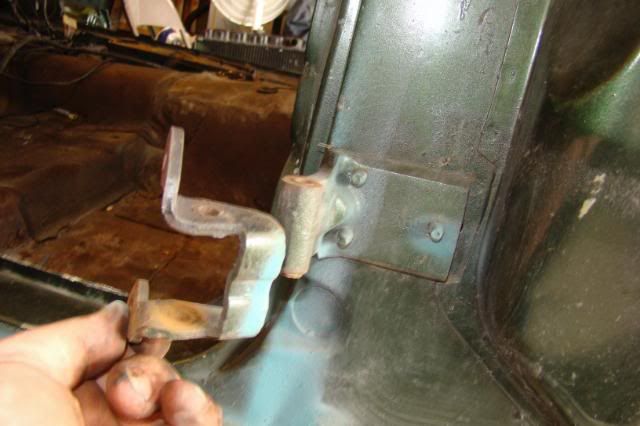
Nylon bushings: 

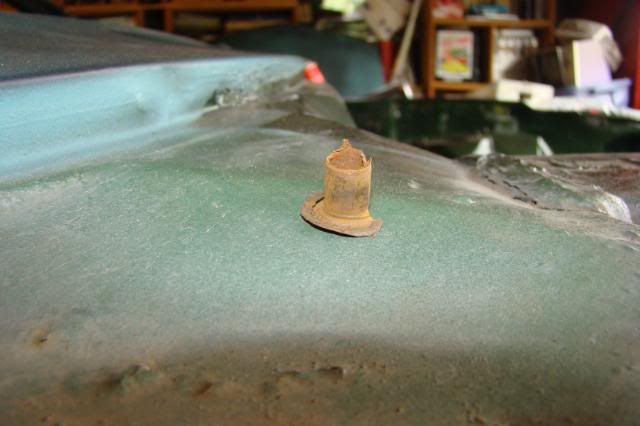
Here is a broken windstop from the upper hinge: 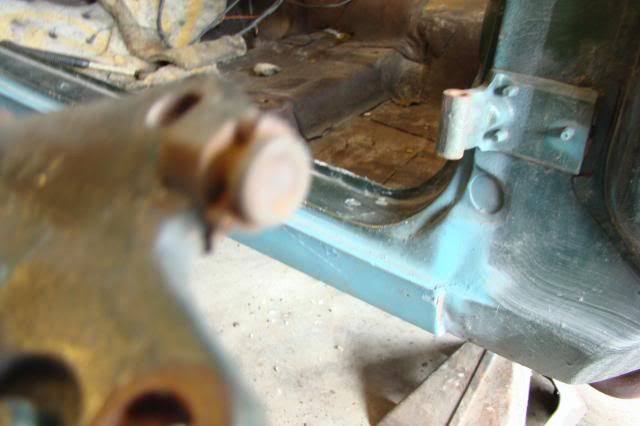
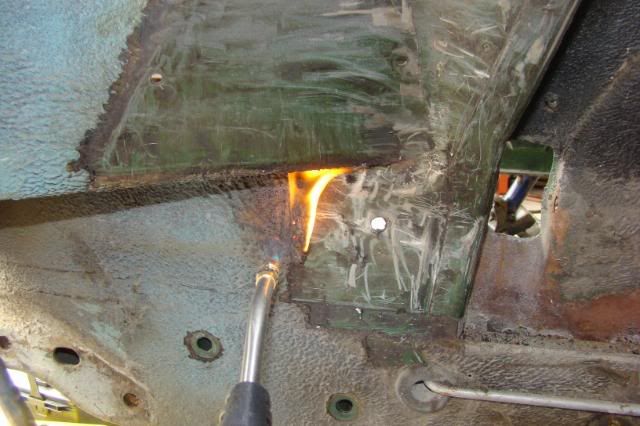
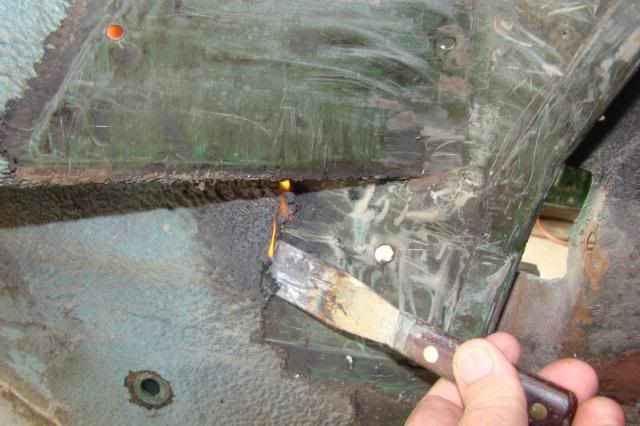
Unfortunately, the windstop pin has been tack-welded in place, so will have to have some heat to remove the weld material. 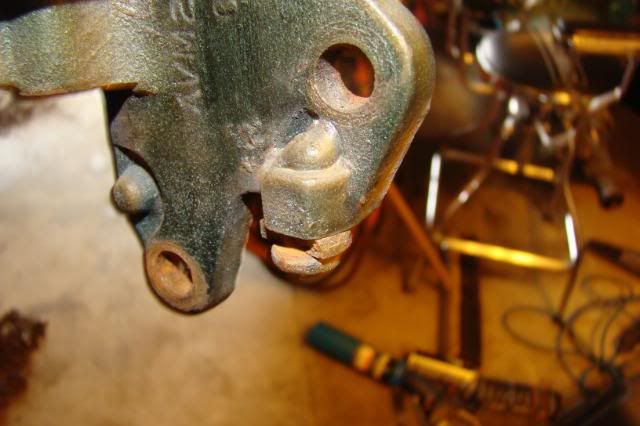
more later…… Edited by tbenvie - Sep/27/2008 at 9:49pm |
|
|
Thomas M. Benvie
|
|
|
|
|
CloudyB
Supporter of TheAMCForum

Joined: Jul/05/2007 Location: United States Status: Offline Points: 2369 |
Post Options
Thanks(0)
Quote Reply
Posted: Sep/27/2008 at 7:29am |
|
Great work and awesome pics.One heck of a job.I'm learning every pic.Thanks Tom and everyone involved.
|
|
|
|
|
Post Reply
|
Page 123 24> |
 Tweet
Tweet
|
| Forum Jump | Forum Permissions You cannot post new topics in this forum You cannot reply to topics in this forum You cannot delete your posts in this forum You cannot edit your posts in this forum You cannot create polls in this forum You cannot vote in polls in this forum |


")


 Click for TheAMCForum Rules
 Topic Options