
|
|
|
Your donations help keep this valuable resource free and growing. Thank you.
|
Aussie Gremlin |
Post Reply 
|
Page <1 1213141516 17> |
| Author | |
70Hornet 
AMC Addicted 

Joined: Dec/24/2012 Location: NSW Australia Status: Offline Points: 895 |
 Post Options Post Options
") Thanks(0) Thanks(0)
 Quote Reply Quote Reply
 Posted: Dec/23/2017 at 4:19pm Posted: Dec/23/2017 at 4:19pm |
|
Talking of Aussie Gremlins there is a photo of the one and only orange Aussie Gremlin in "Survivor car Australia" Issue 21 page 12. Shows a photo of it in 1970 at Bathurst I think (I only had a quick look at the newsagent
 ) on the Ford works racing trailer. They are wondering why it was on the Ford works trailer? Good question ) on the Ford works racing trailer. They are wondering why it was on the Ford works trailer? Good question
|
|
 |
|
|
WesternRed
AMC Addicted

Joined: Aug/03/2010 Location: Australia Status: Offline Points: 5808 |
Post Options
Thanks(0)
Quote Reply
Posted: Dec/26/2017 at 4:15am |
|
Not sure about that one Jason.
Anyway onto part 1 of the Sniper install. First step was to get rid of the old stuff: 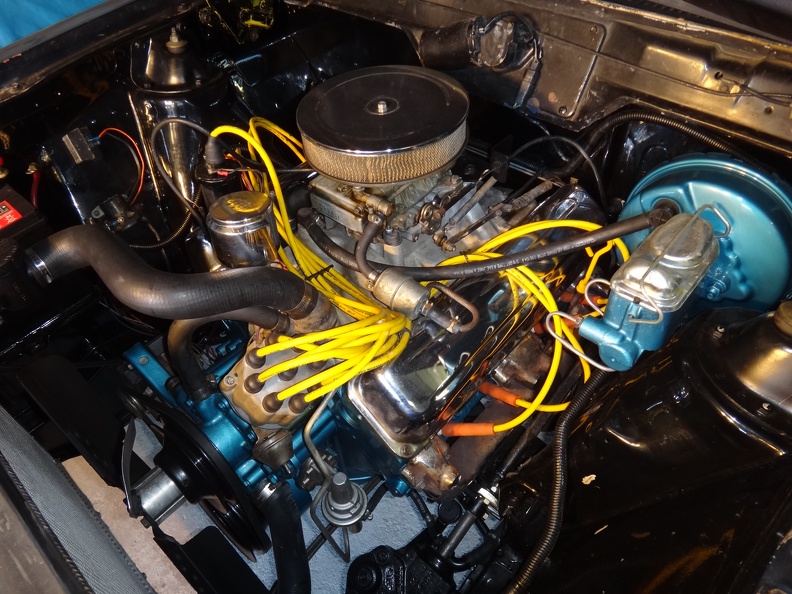 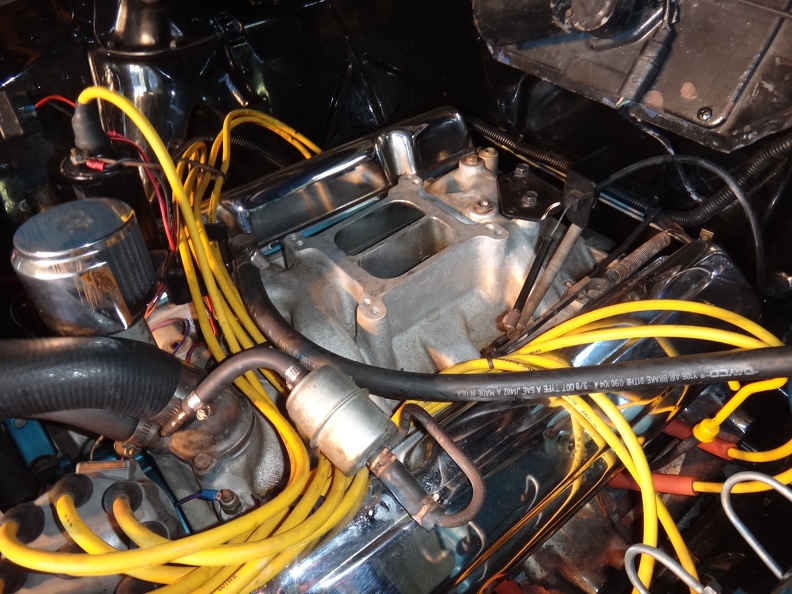 The Holley was quickly re-purposed and I now have a running Jeep again:  I've decided to install the Sniper on the Performer manifold with a 1" open spacer I had laying around. That hardest part of this was finding the longer studs to install it. After a good half an hour or so searching high and low in the shed for the studs I knew I had somewhere, I thought to look in the Javelin engine bay and sure enough found them there. Quick change out and good to go: 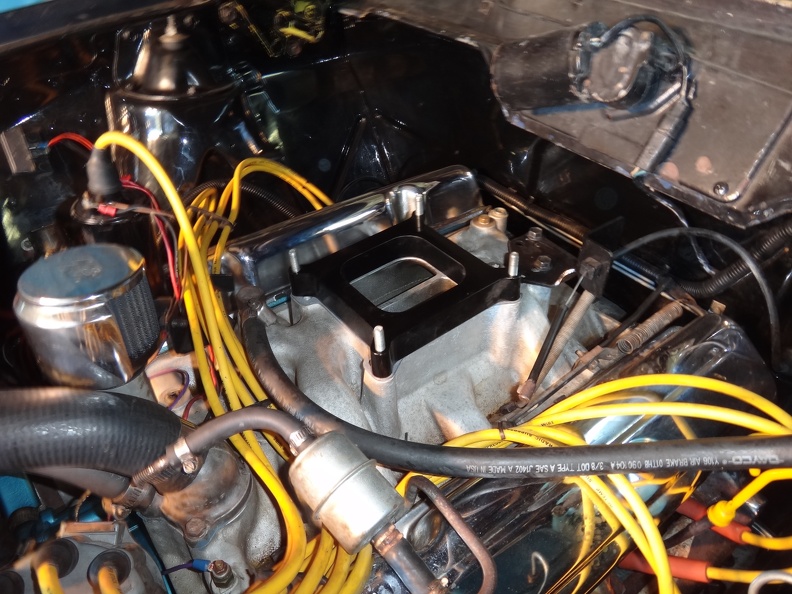 Sniper bolted down, that's the easy bit done: 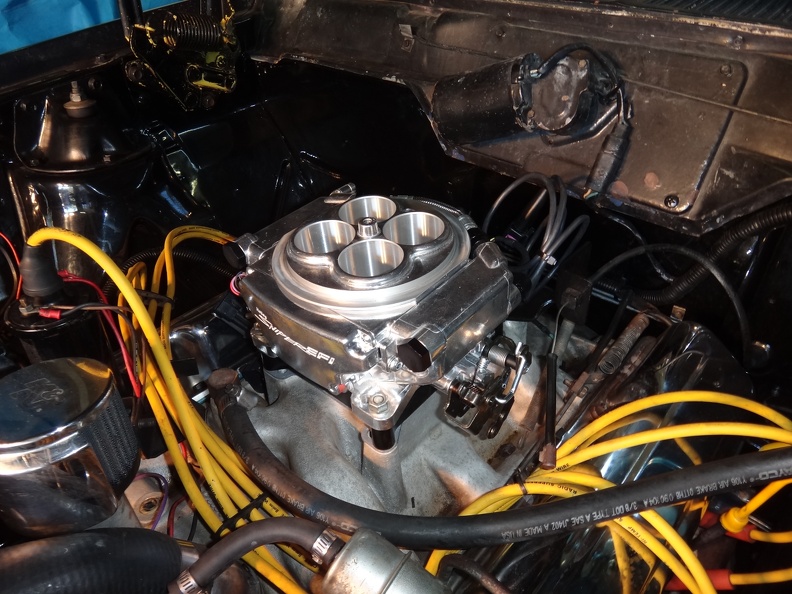 Throttle cable and kickdown connection, the Sniper is a bit wider than the Holley carb and the factory throttle cable bracket wouldn't line up. Fortunately the kit includes a nice bracket that did the job and accepted the factory AMC throttle cable, a shorter return spring will be required though. Kickdown connection is straight off the Holley carb. 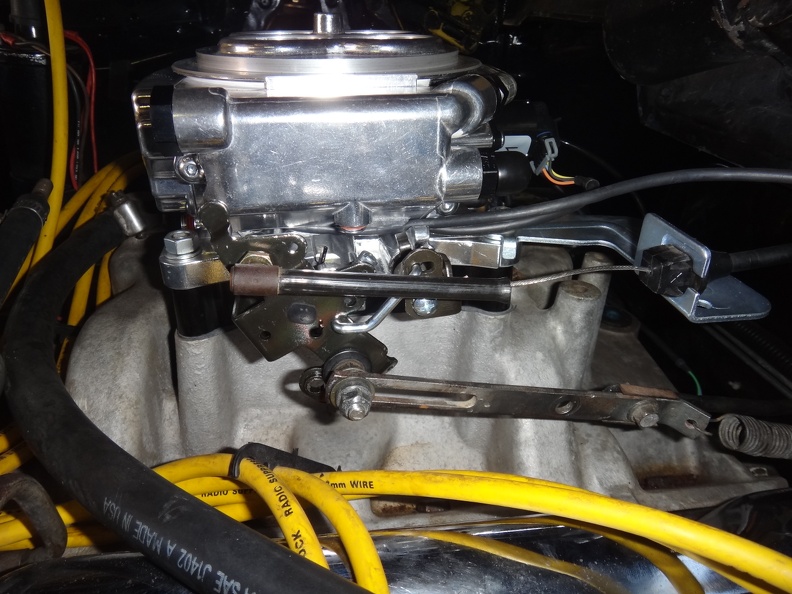 Kit comes with a nice clamp on arrangement for the Oxygen sensor, but obviously nobody is still running tiny 2" pipes and the supplied clamps were way too big for my system, so had to make do with a couple of hose clamps. Drilling a fairly large hole in the top of the exhaust pipe is no easy task laying on you back under the car: 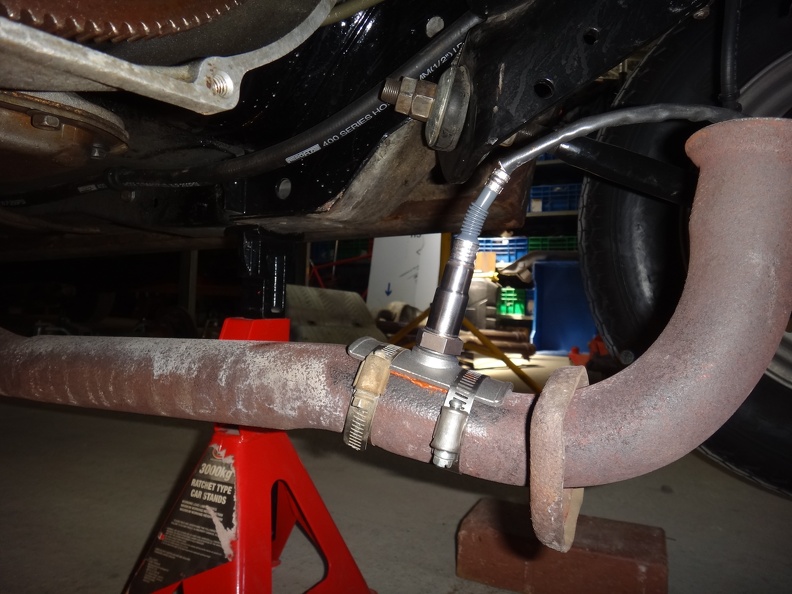 O2 sensor in position with the pipe bolted back up, that's pretty much the closest straight section of pipe I could attach the clamp on fitting to. I'll probably upgrade the exhaust at some point and install a proper weld on fitting: 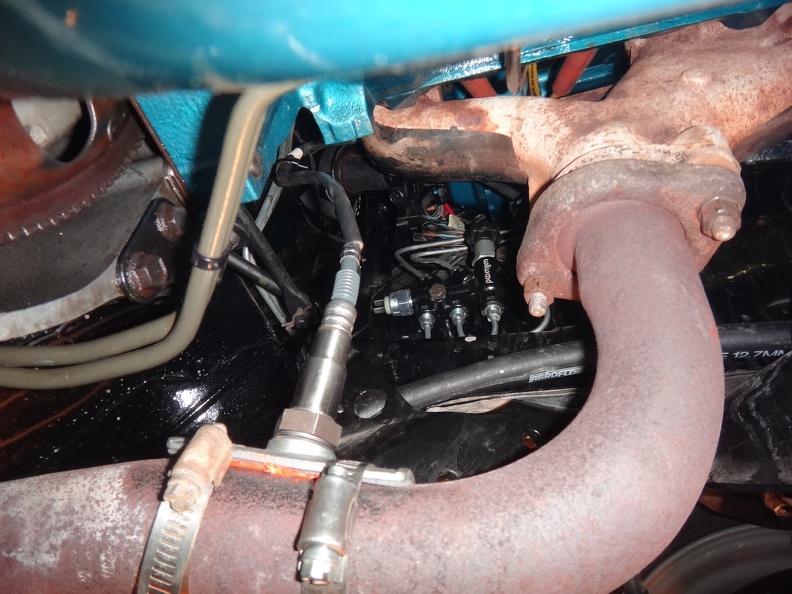 Coolant temperature sensor was a walk in the park, just drop a few litres of coolant and screw it straight into the intake: 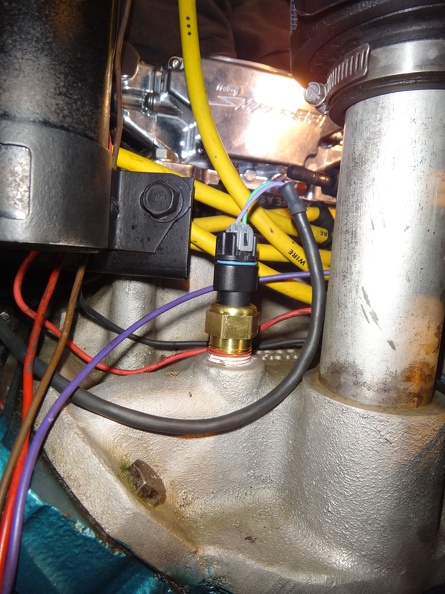 Next up will be the fun part, installing the fuel system, I've pulled most of the brand new stuff I just installed a few weeks ago back off and need to wait for the shops to re-open after the Christmas break to get a few more fittings to make it all work. Edited by WesternRed - Dec/26/2017 at 4:29am |
|
|
|
|
WesternRed
AMC Addicted
Joined: Aug/03/2010 Location: Australia Status: Offline Points: 5808 |
Post Options
Thanks(0)
Quote Reply
Posted: Dec/27/2017 at 8:15am |
|
Fuel system mark II.
I bought one of these kits to make life easier, you could just buy the Sniper master kit. The kit is pretty comprehensive but I still had to go out and spend another $120 on additional fittings to make it work.  Took me quite a bit of contemplation time to come up with this pump mounting arrangement, I think it works pretty well. 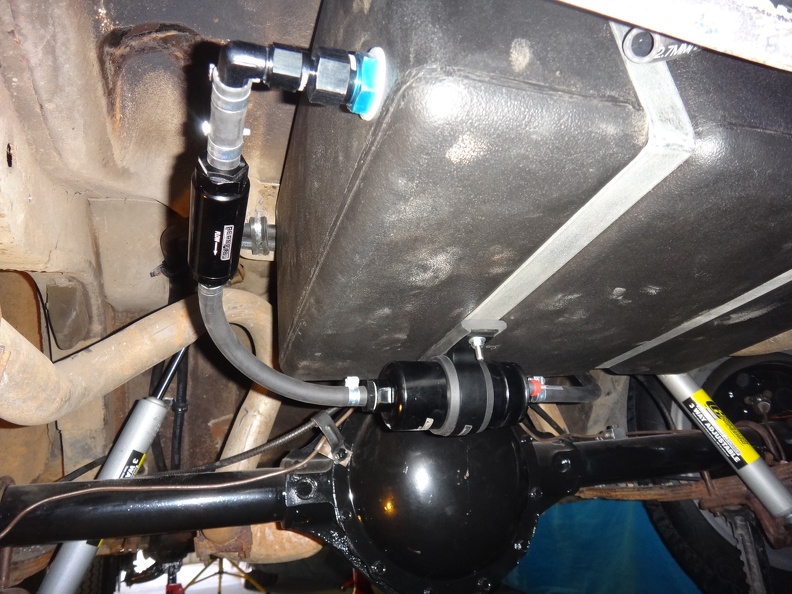 The rest of the fuel lines are pretty much finished, I had to add a return line for this system. Now I just need to finish up the wiring now and it should be good to go. |
|
|
|
|
RUMBLR
AMC Apprentice 

Joined: Mar/03/2010 Location: South Australia Status: Offline Points: 118 |
Post Options
Thanks(0)
Quote Reply
Posted: Dec/27/2017 at 5:03pm |
|
Looks good Darren!
|
|
|
343 904 M20 - 11.83@115
|
|
|
|
|
WesternRed
AMC Addicted
Joined: Aug/03/2010 Location: Australia Status: Offline Points: 5808 |
Post Options
Thanks(0)
Quote Reply
Posted: Dec/28/2017 at 6:03am |
|
Success, managed to get it up and running today:
https://www.youtube.com/watch?v=RXNHRk4Egi0&feature=youtu.be I do have a couple of minor issues to sort out. The install calls for a clean 12 volt switched ignition source for activation, which means it can't share the same power source as the ignition system. I thought I would be smart and install a relay on the ignition circuit so that I didn't need to run another wire out from under the dash, turned out I needed two relays to make it work, one for the ignition and one for the sniper, both activated by the regular ignition feed. After a fair bit of frigging around with the wiring, I finally got it running, only problem now is I can't shut it off with the ignition switch. Looks like I will need to add a diode to the alternator feed from the dash light to prevent it feeding back into the ignition circuit, which wasn't an issue before I added the relay. Took me a good couple of hours to work that out. The other problem is that I have a fuel small leak on the pump outlet, so I'll need to pull that back out and have a look at it. |
|
|
|
|
WesternRed
AMC Addicted
Joined: Aug/03/2010 Location: Australia Status: Offline Points: 5808 |
Post Options
Thanks(0)
Quote Reply
Posted: Dec/29/2017 at 5:30am |
|
Added one of these suckers, 100V x 1.0A diodes, to the alternator feed and the running-on problem is solved (as per MDS instructions):
 Bought a couple of new relays and mounts for the Sniper and ignition circuits (the blue fused relays in the pic), not quite show car looks, but looking a little better. 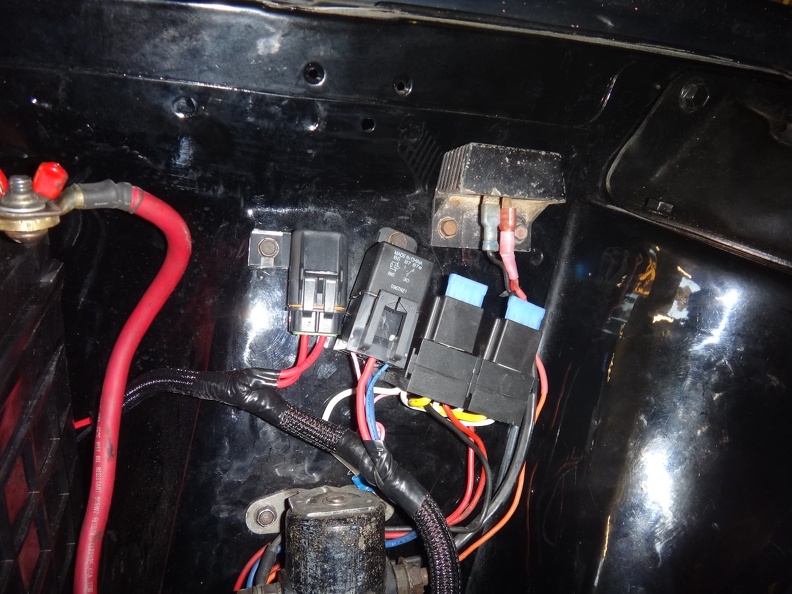 Also got rid of the mechanical fuel pump, hopefully I won't be needing that anymore: 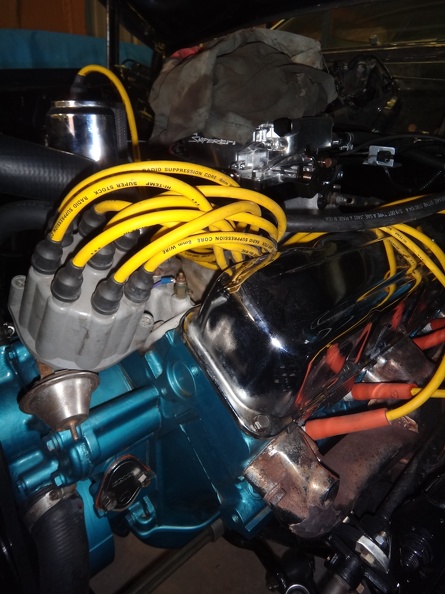 And finally replaced the nearly new, but completely shagged Falcon Global Pitman Arm with another new one from Mevotech, hopefully this one lasts more than 20 or so trips down the strip:  Still have to sort the fuel leak at the pump though, but the Coronas are calling. |
|
|
|
|
WesternRed
AMC Addicted
Joined: Aug/03/2010 Location: Australia Status: Offline Points: 5808 |
Post Options
Thanks(0)
Quote Reply
Posted: Jan/04/2018 at 3:13am |
|
Another run at the Perth Drag Strip and a new PB with the Holley Sniper:
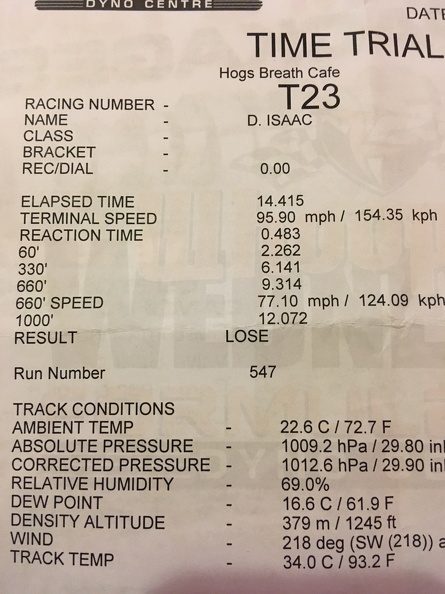 Random picture in the staging lanes: 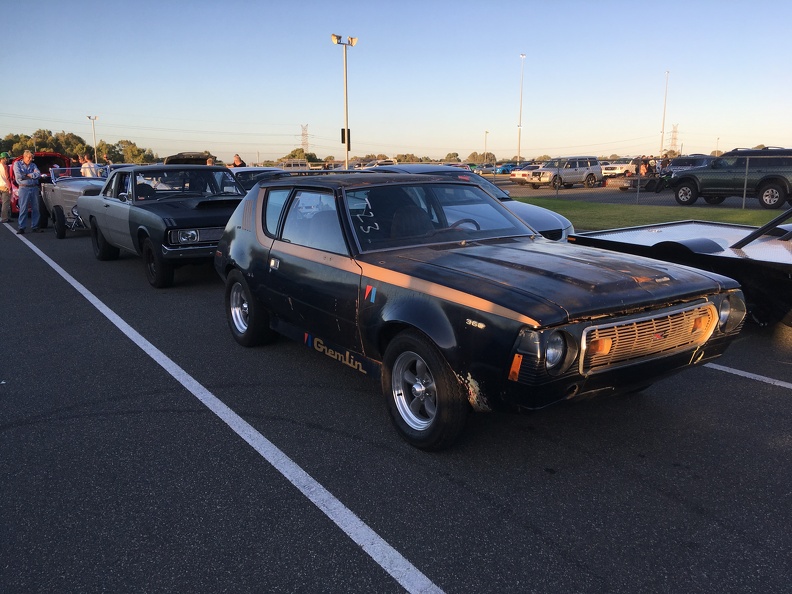 Holley Sniper data log, very impressed with what it can do so far: 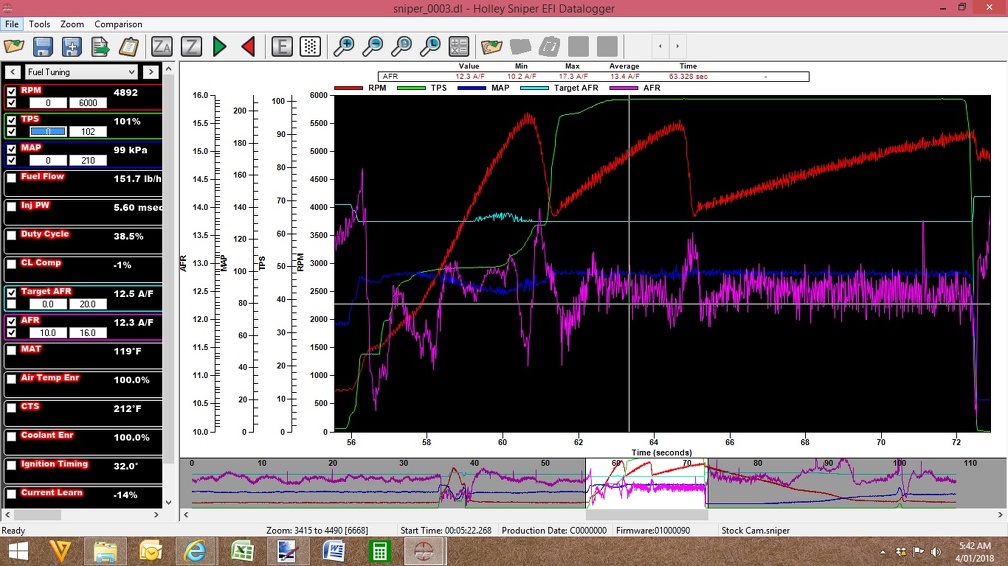 More detail over in this thread: http://www.theamcforum.com/forum/stock-360-output_topic91270_page8.html Video of one of the runs here: https://www.youtube.com/watch?v=P693_0m-U8E&feature=youtu.be |
|
|
|
|
WesternRed
AMC Addicted
Joined: Aug/03/2010 Location: Australia Status: Offline Points: 5808 |
Post Options
Thanks(0)
Quote Reply
Posted: Jan/10/2018 at 8:17am |
|
Today's lesson learnt the hard way (aren't they all) is to take the opportunity to change the rear main seal before you put the engine in the car, it's a lot easier than doing it from underneath:
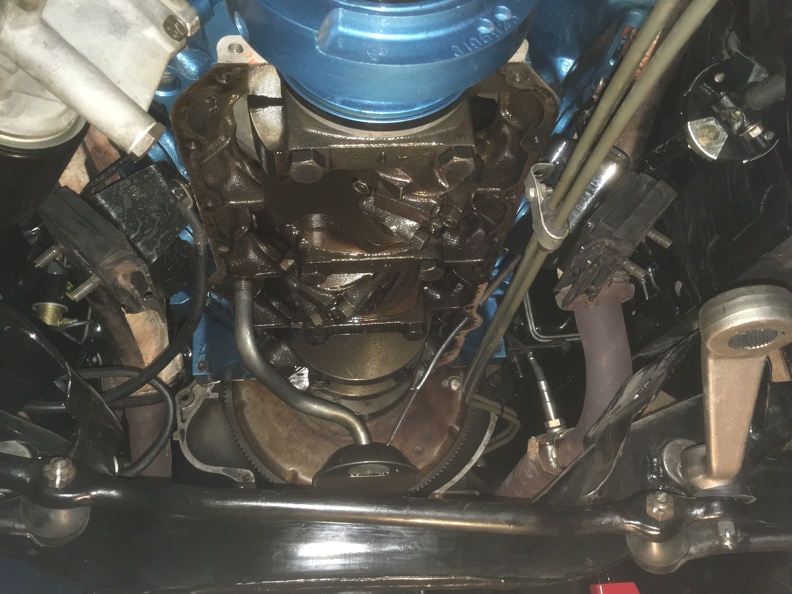 Did give me the opportunity to make this nice engine support beam from some scraps laying around the shed though: 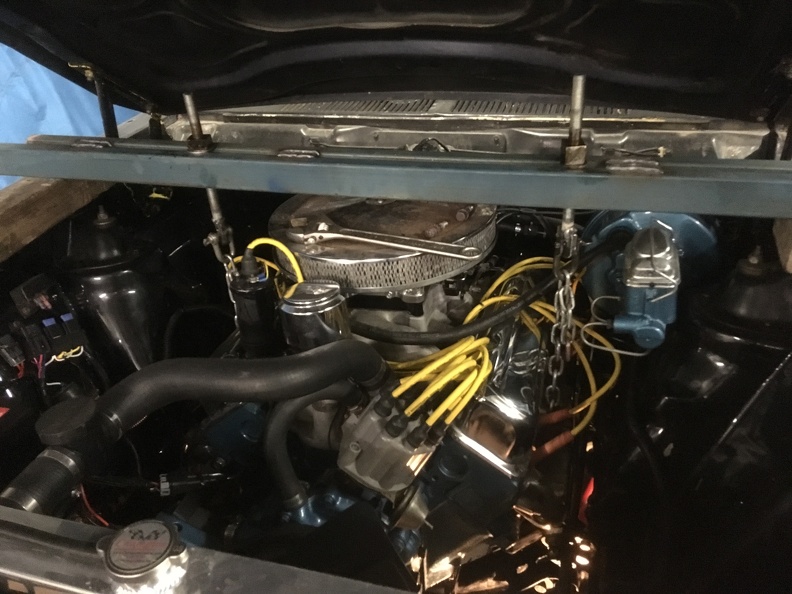
|
|
|
|
|
Amx nz
AMC Apprentice

Joined: Dec/26/2014 Location: NewZealand Status: Offline Points: 184 |
Post Options
Thanks(0)
Quote Reply
Posted: Jan/11/2018 at 9:46am |
|
I got the same thing in the MAD MAX and have not fixed it yet and did rip the motor and trans out thinking it was the pan seal and put it back in and thinking not a bad job and didn't scratch any thing only to start it up to find a pool of green oil under the car . It has slowed down a lot and I don't think I might not touch it until I put the pro charge 390 in but that's what you get from things that have been sitting around awhile,should have known better just being lazy 😡😤
|
|
|
Mad max # 15
|
|
|
|
|
70Hornet
AMC Addicted
Joined: Dec/24/2012 Location: NSW Australia Status: Offline Points: 895 |
Post Options
Thanks(0)
Quote Reply
Posted: Jan/12/2018 at 3:18am |
|
Some of things you are doing with the little rocket wow. You a lot smarter man then me dealing with diodes and this and that. Great work and car stands out great against all the other newer and more common cars. Awesome fun. When is yours and Gizmo going to have a match race?

|
|
|
|
|
Post Reply
|
Page <1 1213141516 17> |
 Tweet
Tweet
|
| Forum Jump | Forum Permissions You cannot post new topics in this forum You cannot reply to topics in this forum You cannot delete your posts in this forum You cannot edit your posts in this forum You cannot create polls in this forum You cannot vote in polls in this forum |


 Click for TheAMCForum Rules
 Topic Options